The cost guide
What it actually costs to start sewing
The signature guide: machine plus kit equals total, at three budgets, with your carton contents subtracted first.
Learn and repair
How to use the machine, what to buy for it, and what to do at eleven o'clock at night when the thread is bunching underneath.
Start here
Every page below carries live buy links for its top pick, published specifications for every product, and at least one thing we tell you to skip.
Before you buy
This section does two jobs. The first is getting you from an unopened box to a finished seam, which takes about an hour and involves three skills: winding a bobbin, threading the machine, and steering fabric in a straight line. The second is fixing the thing that has gone wrong, which is nearly always one of five problems and nearly always free to fix.
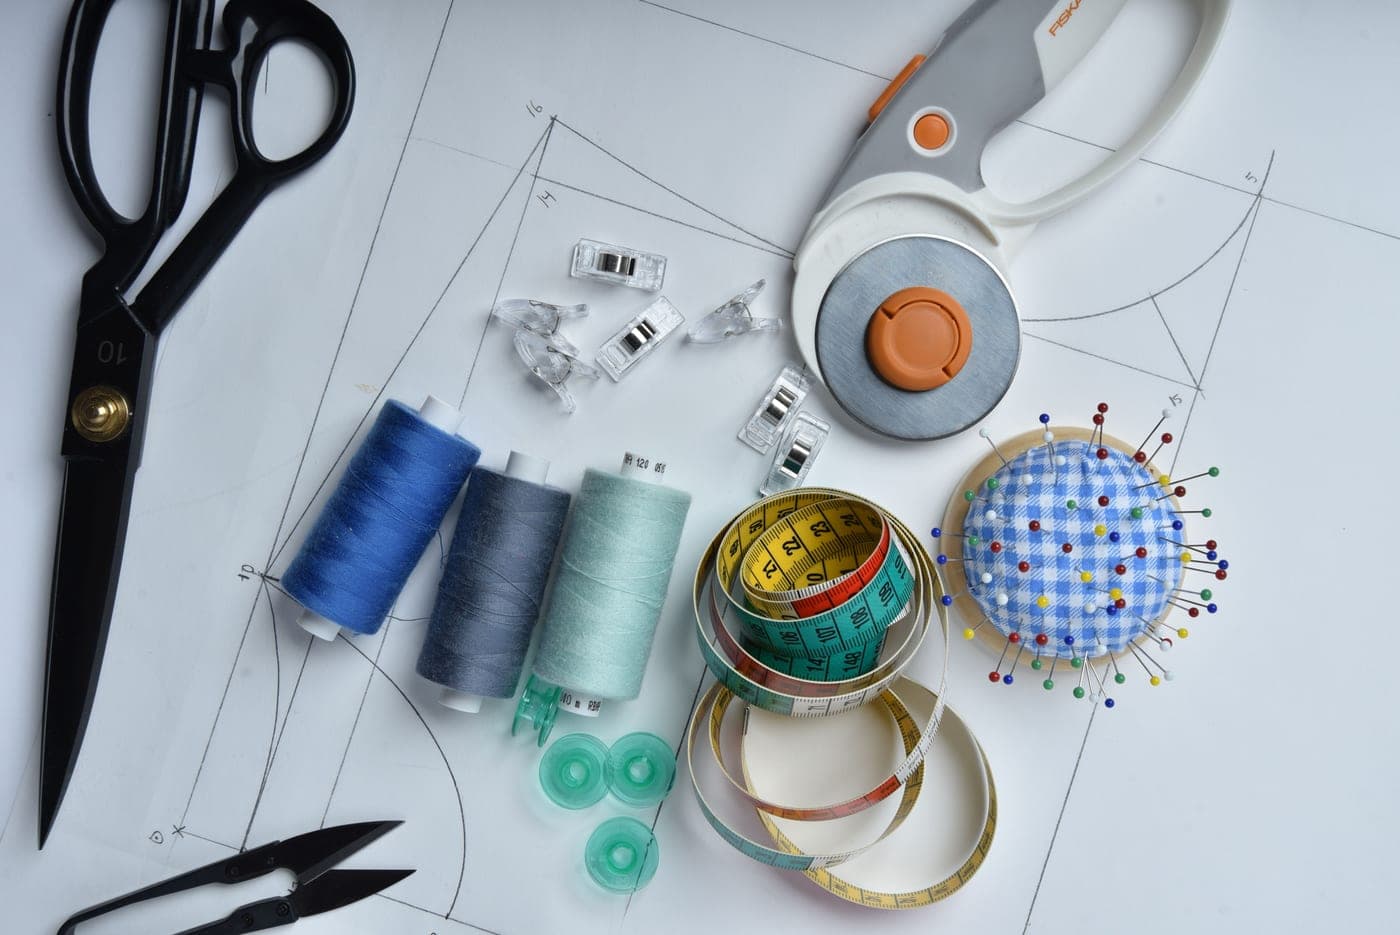
Read what it costs to start sewing first. It prices the whole setup — machine plus kit — at three budgets, and it is the page this site was built around. Then what sewing machine should I buy narrows the field on the three specifications that matter, and what you actually need to start sewing lists the kit with the parts your machine already includes crossed off.
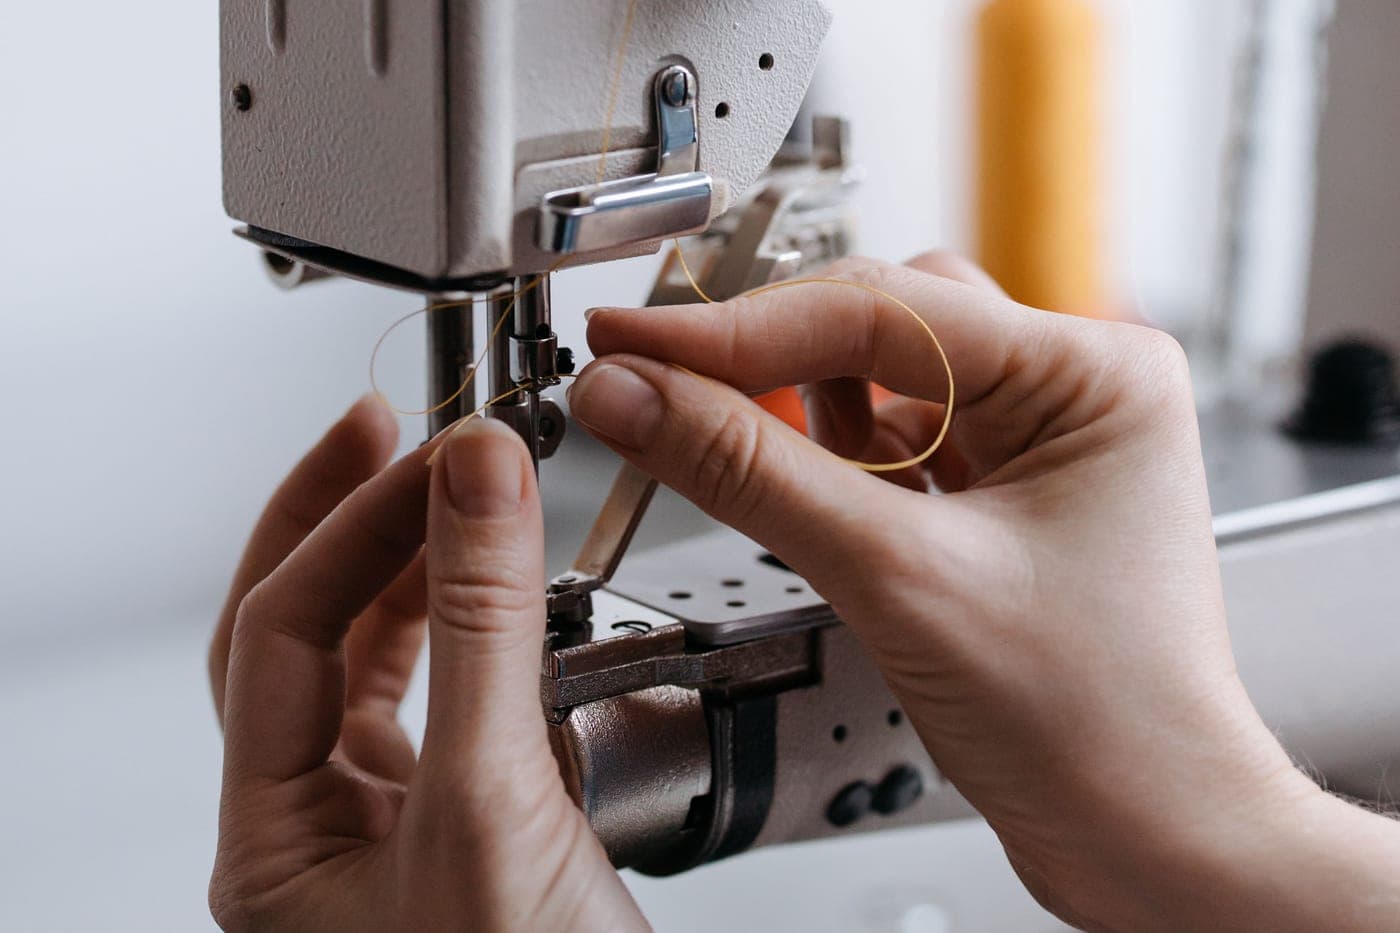
Do these in order. How to thread a sewing machine covers the top thread and the bobbin, including the two steps people skip that cause almost every tension problem afterwards. How to use a sewing machine takes you through your first seam. Then first sewing projects gives you four things worth making that are forgiving of a beginner's steering.
One instruction worth repeating: sew on scrap fabric first, and use two layers of the same fabric your project uses. Almost every stitch problem is visible in the first six inches of a test seam, and finding it there costs nothing.
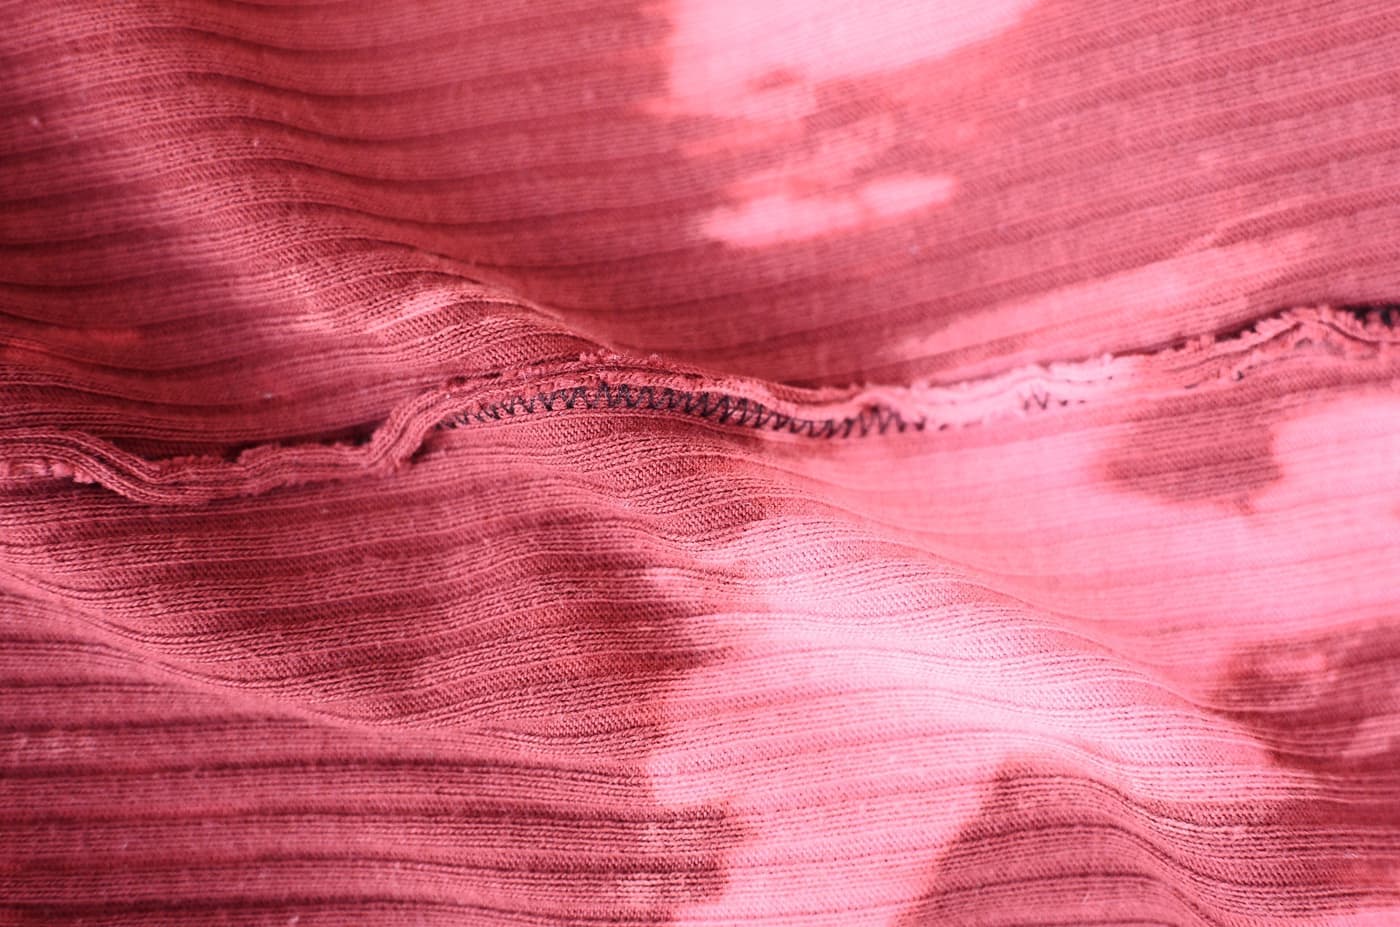
Go to sewing machine problems for the general sequence, or straight to bobbin thread bunching if you are looking at a nest of loops under the fabric — which is the single most common problem in home sewing and, despite the name, is almost always caused by the top thread rather than the bobbin. If the stitches are simply missing rather than looping, skipped stitches is nearly always the needle, and tension explained shows you how to read a bad stitch and tell which thread is at fault.
The general rule is worth knowing before you need it: rethread before you adjust. In our reading of the manufacturers' own troubleshooting sections, the overwhelming majority of stitch faults are threading faults, and adjusting tension to compensate for a threading fault makes the next problem harder to diagnose. Unthread completely, raise the presser foot, and rethread with the foot up.
Three guides cover the consumables, and they are the ones that quietly matter most. Sewing machine needles explained is the one to read first — the wrong needle causes more problems than any other single factor, and a needle costs less than a coffee. Thread for beginners covers what all-purpose thread is and why cheap thread misbehaves. Presser feet explained tells you what each foot in your box is actually for, which is worth doing before buying any more. And choosing fabric matters more than any of them for a first project, because most early frustration is the fabric rather than the sewing.
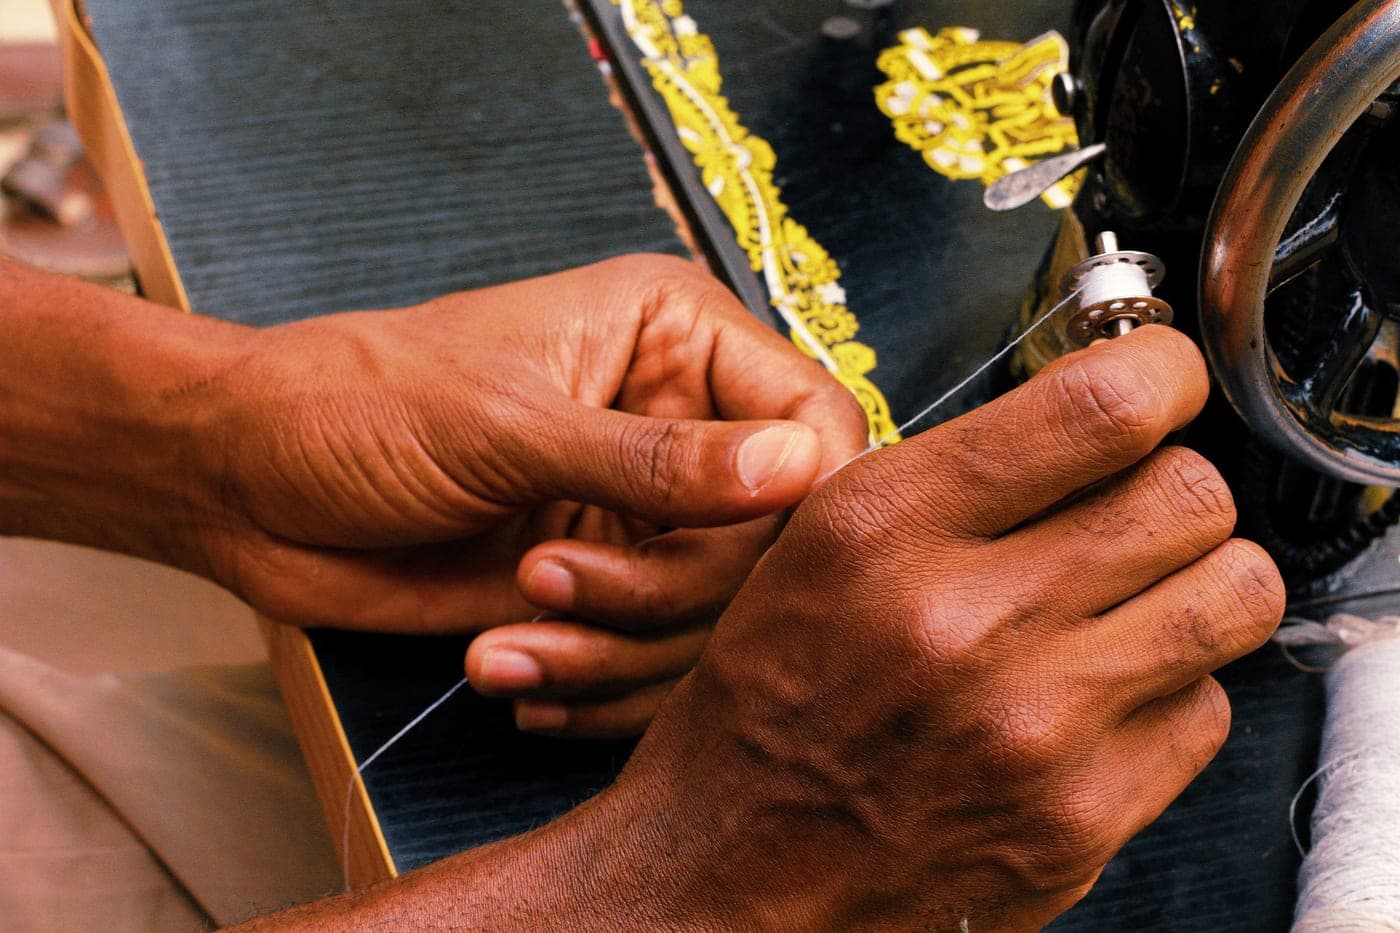
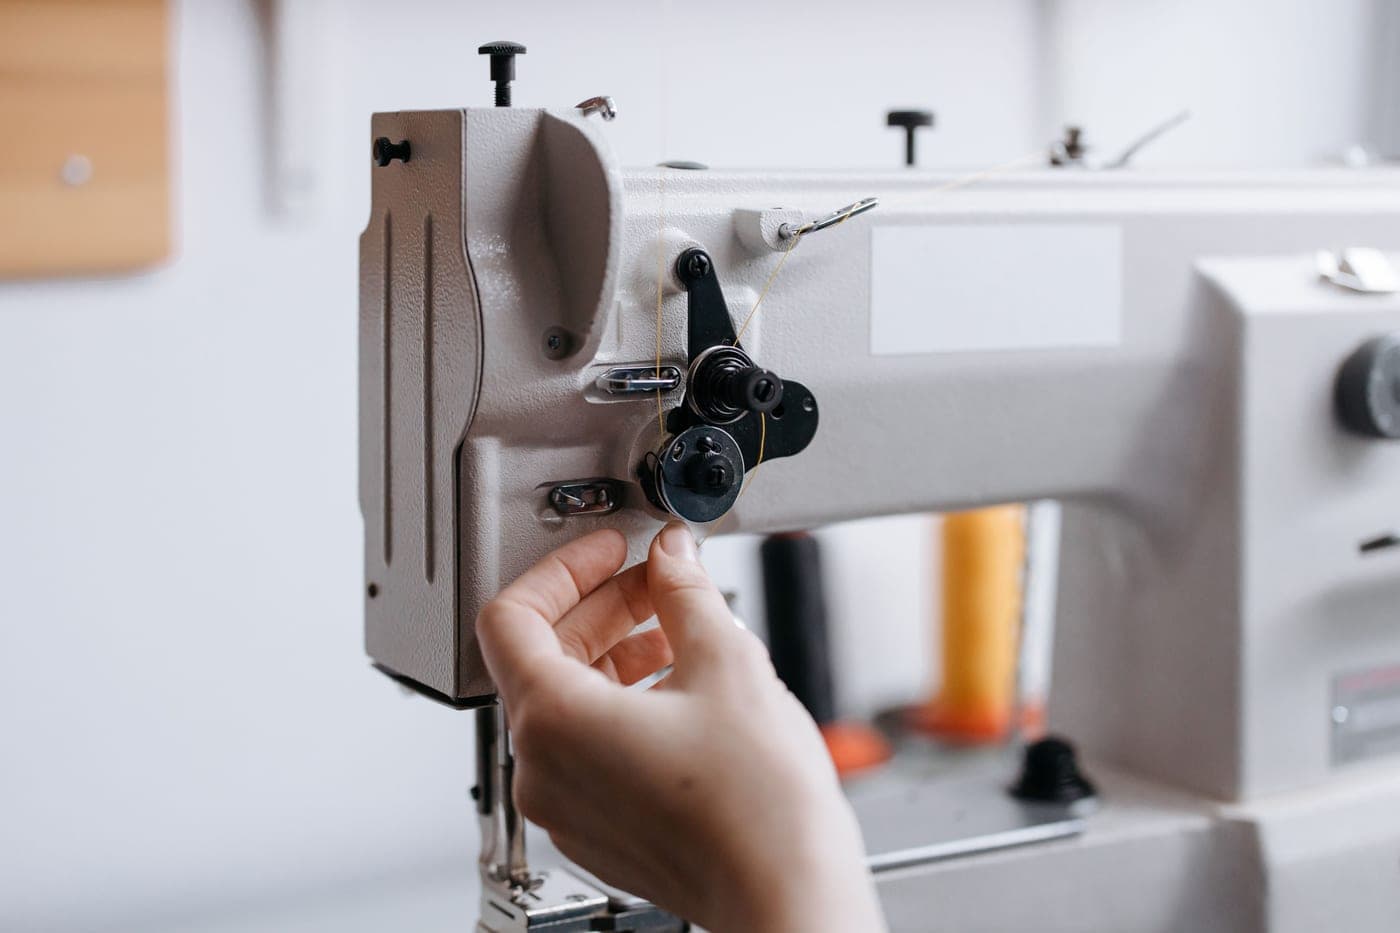
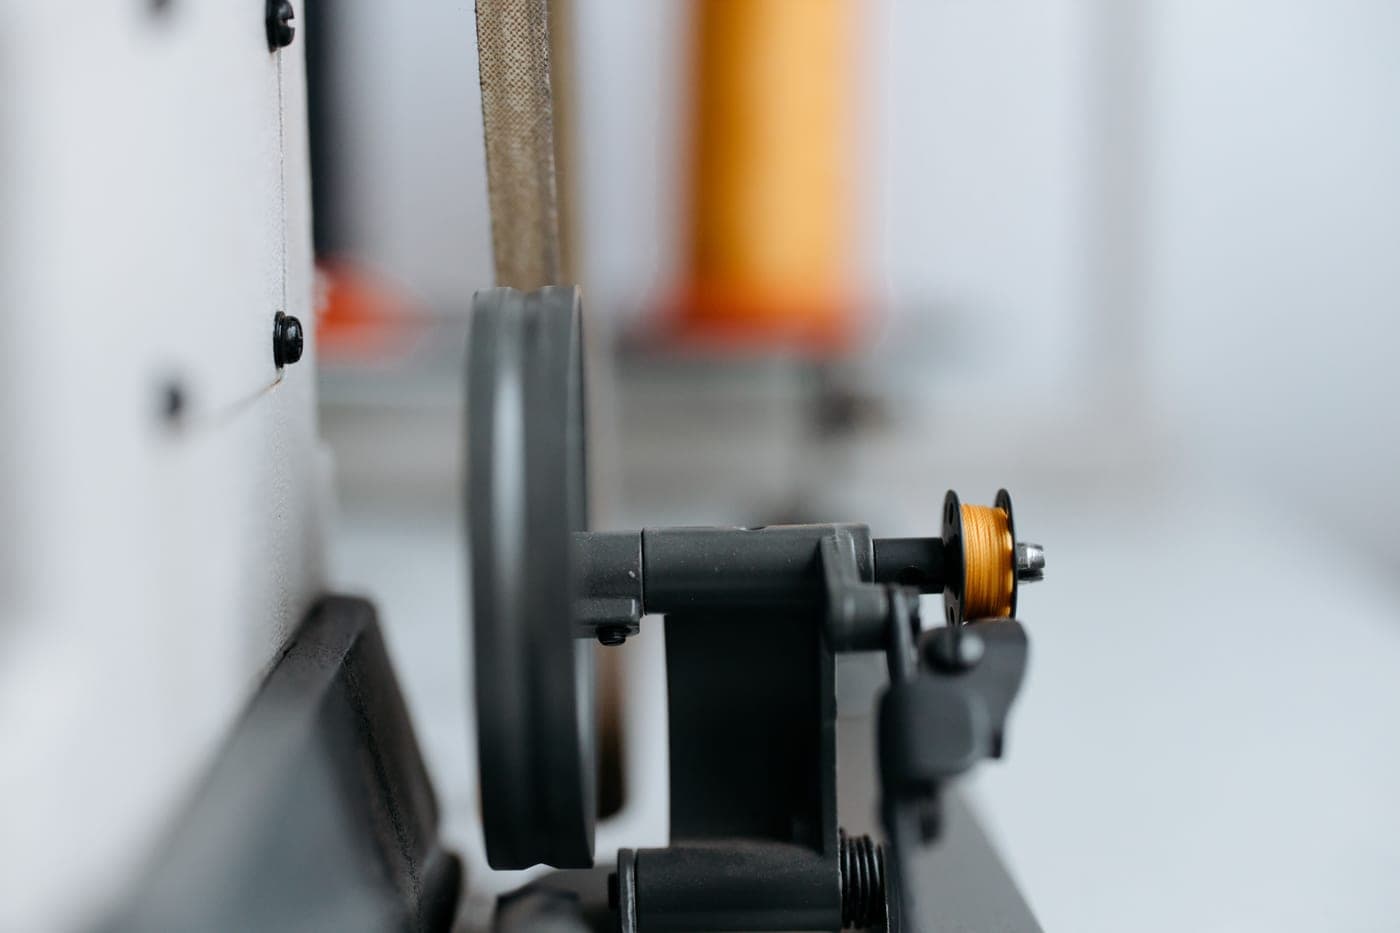
Two setup guides sit alongside them: how to wind a bobbin, which covers the separate winder tension disc almost everyone misses, and how to thread a sewing machine for the rest of the path.
And one guide exists to talk you out of a purchase: are mini sewing machines worth it explains the specific mechanical failure — the fabric stops feeding while the needle keeps going — that makes a beginner conclude they cannot sew, when what actually happened is that the machine could not.
For quilters specifically: quilting supplies for beginners, the walking foot explained and your first quilt project. For garment sewers: how to hem pants, sewing knit fabrics and learning to sew your own clothes.
Plain language, jargon defined on first use on every page — because you might land on any one of them cold — and the answer in the first paragraph rather than after six hundred words of preamble. Where a guide recommends a product it says which specification it is recommending and why; where a guide has nothing worth selling you, it sells you nothing. Several pages in this section carry no product links at all, and that is deliberate: bolting a purchase onto a troubleshooting page is worse than an empty one.
Answers
Elsewhere on the site