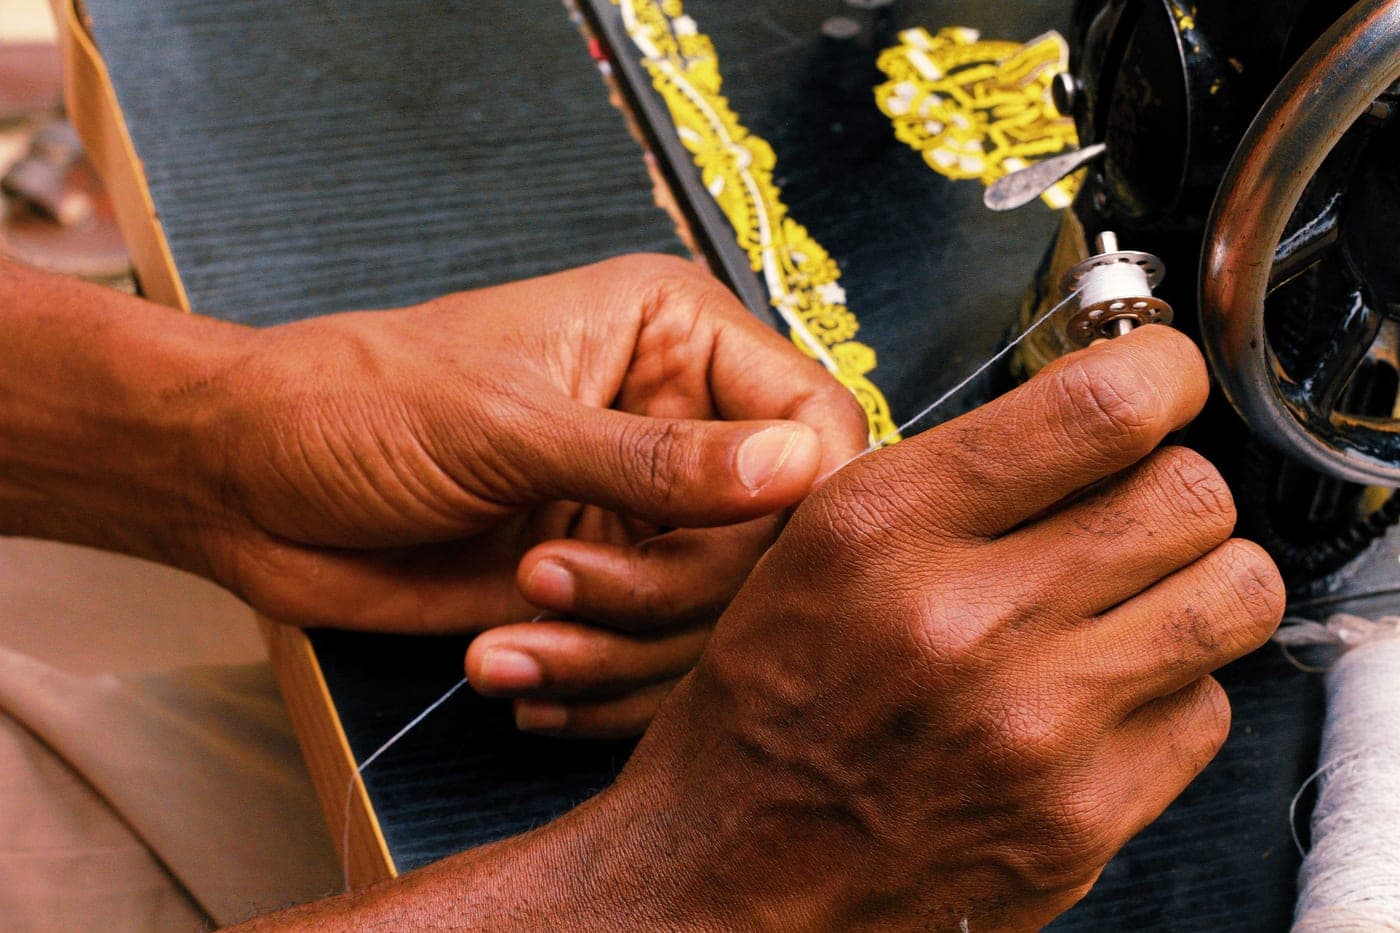
Put the thread on the spool pin, take it around the separate bobbin winder tension disc near the top of the machine, thread it through a hole in the top of the empty bobbin from the inside out, push the winder spindle across until it clicks, and press the pedal. The winder tension disc is the step people skip, and skipping it is why a bobbin comes out loose and causes stitch problems later.
The step everyone skips
Your machine has two tension systems for the top thread path, and they do different jobs.
The main tension discs — the ones the dial on the front controls — grip the thread while you sew. The bobbin winder tension disc is a separate, smaller disc, usually a metal or plastic guide near the top left of the machine, and it exists for one purpose: to hold the thread back while the bobbin fills.
If the thread does not pass around it, nothing stops you winding. The bobbin fills perfectly happily — just loosely, and unevenly, because there is no resistance keeping the thread taut as it lays down.
That is the whole failure. It does not announce itself at winding time; it shows up an hour later as stitches that are fine for six inches and then wrong, or tension that seems to drift for no reason. Which is why the bobbin is one of the first things to re-check when a stitch goes bad.
Winding, step by step
- Put the spool on the spool pin and secure it with a spool cap if your machine has one, so the thread comes off the spool smoothly rather than catching on the notch in its end.
- Take the thread around the bobbin winder tension disc. Follow the diagram printed on your machine — it is usually a small numbered path across the top. This is the step that matters.
- Thread the end through a hole in the top of the empty bobbin, passing it from the inside outward so a few inches stick out.
- Put the bobbin on the winder spindle and push the spindle to the right until it clicks. On most machines this disengages the needle so it will not move while you wind.
- Hold the loose thread tail and press the foot pedal gently for a few turns.
- Stop and snip the tail off flush with the top of the bobbin. Leaving it long means it gets wound in and creates a lump.
- Wind at a steady moderate speed until the machine stops itself or the bobbin is full — full means level with the outer rim, not domed above it.
- Push the spindle back to the left, cut the thread, and lift the bobbin off.
Brother lists an independent bobbin winding motor on the LX3817, which means winding does not drive the needle mechanism at all, and an automatic bobbin winding system on the XM1010. Most other machines simply disengage the needle when you push the spindle across.
What a good bobbin looks like
- Even from side to side — the thread lays down in flat layers, not piled toward one rim. Uneven winding usually means the thread missed the winder tension disc or the spool is catching.
- Firm to the touch, not spongy. Press a thumbnail against it — it should barely give.
- Level with the rim, not overfilled. An overfilled bobbin will not seat properly in the case or under the plate.
- No crossed or trapped strands, which snag as the bobbin unwinds and cause sudden tight stitches.
- No tail wound into the middle, which is why you snip it flush after the first few turns.
If a bobbin fails any of those, rewind it. It takes thirty seconds and it is far cheaper than diagnosing the stitch problem it will cause.
Loading it the right way round
Winding is half the job. The direction the thread comes off the bobbin determines whether it passes through the tension slot or bypasses it entirely.
Drop-in bobbins
Slide the clear cover off, and drop the bobbin in so the thread comes off in the direction shown on the diagram printed beside the compartment — usually counter-clockwise. Pull the thread into the slot and along the guide groove, then replace the cover leaving the tail out. Every Brother machine we cover uses this system, as does the SINGER Heavy Duty 4423.
Front-loading bobbins
Open the flap below the needle and pull the bobbin case out by its latch. Drop the bobbin in so it unwinds in the direction your manual shows, pull the thread into the slot in the case and draw it under the flat tension spring — you should feel a slight resistance when you tug it. Hold the latch open, slide the case back onto its post, and release until it clicks. The SINGER M1500 uses this system.
The test for a correctly loaded front-loading case: hold it by the thread and let it hang. It should not unwind under its own weight, and a small jerk of your hand should drop it an inch or two. The two systems compared in full.
Bringing the bobbin thread up
With both threads in place, hold the top thread loosely and turn the handwheel toward you through one complete rotation. The needle goes all the way down and back up, and the top thread catches the bobbin thread and brings a loop up through the needle plate. Pull that loop through with your fingers or a pin, and lay both tails back under the presser foot.
Always turn the handwheel toward you. Turning it backwards can disturb the timing between the needle and the bobbin hook, which is a service repair rather than a home one.
The ranking
Quick picks
Ranked against the published criteria below. Tap a row to jump to the full write-up; the price button goes straight to Amazon.
Not stopping mid-seam to wind another one
Class 15 transparent bobbins
Both Singer machines on this site take a Class 15 transparent bobbin, and three is not enough — a transparent bobbin also lets you see the thread running out before it does.
Start with the warning, because it is the one that costs people an evening: bobbin class is not universal, and a nearly-right bobbin is worse than no bobbin. A bobbin that is fractionally too tall, too wide or made of the wrong material will sit at a slight angle in the case, feed thread unevenly, and produce exactly the nest of loops underneath your fabric that people diagnose as a broken machine. Singer publishes the bobbin class for both machines on this site as Class 15 transparent, and recommends SINGER or INSPIRA branded bobbins for best results. Your manual states yours.
Assuming you have the right class, the reason to buy more is simple arithmetic. Brother ships three bobbins with the CS7000X, the XM2701 and the LX3817, and four with the XR9550. A single garment in two thread colors plus a basting color uses three. The moment you run out mid-seam you have to unthread the machine, wind a bobbin, and re-thread — and re-threading is where the next problem starts.
Transparent rather than metal, for a beginner, for one reason: you can see how much thread is left. Running the bobbin dry in the middle of a topstitch line is a specific kind of annoying, because the top thread keeps stitching and you do not notice until you turn the work over.
Wind one bobbin per color you use regularly and keep them on a bobbin ring. It is the cheapest quality-of-life improvement in this whole list.
What works
- Transparent, so you can see the thread level without unthreading the machine
- Cheap enough to wind one per thread color and stop re-winding
- Class 15 is the most widely used home bobbin class, so replacements are easy to find
What does not
- Bobbin class is not universal. Check your manual — the wrong class will seat badly and cause bunching, and some machines specify a plastic or a metal bobbin, not both
- Singer explicitly recommends its own or INSPIRA-branded bobbins for best results
- A cheap out-of-spec bobbin is a common cause of the tension problems people blame on their machine
The needle you should already own two packs of
Universal machine needles, 80/12 and 90/14
A slight ball point that sews both knit and woven fabric, which is why it is the only needle a first project actually requires — and the one most people never replace often enough.
SCHMETZ describes the universal needle in seven words: 'General sewing of knit and woven fabrics. Slight ball point.' That slight ball point is the whole design. A perfectly sharp point pierces the yarns of a woven cloth cleanly and cuts through the loops of a knit, causing runs. A full ball point pushes knit loops aside but struggles to pierce a dense woven. The universal splits the difference, badly enough that a specialist needle beats it on any one fabric, and well enough that it is the only needle a first project needs.
Buy sizes 80/12 and 90/14, and understand what the two numbers mean: they are the same measurement in two systems, metric (NM) and imperial (Singer). An 80/12 is 0.8 mm across the blade. Lighter fabric wants a smaller number; heavier fabric wants a bigger one. Quilting cotton and shirting sew happily on an 80/12. Denim-weight woven, canvas and multiple layers want a 90/14.
The mistake almost every beginner makes is not buying the wrong needle, it is keeping the right one too long. A needle blunts from the friction of passing through fabric thousands of times, and a blunt needle is a leading cause of skipped stitches, snagged fabric and thread that keeps breaking — the exact symptoms people diagnose as a broken machine. Change it when you start a significant project, and change it after roughly eight hours of sewing.
SCHMETZ publishes universal needles from 60/8 up to 120/19, plus assorted packs, twin needles and triple needles. An assorted pack is the right first purchase because it lets you find out which size your fabric actually likes without buying five packs.
What works
- Sews knit and woven fabric acceptably, which no other needle type does
- The widest size range SCHMETZ publishes for any home needle — 60/8 through 120/19
- An assorted pack covers a beginner's first year of fabrics for the price of a coffee
- Sold as a twin and a triple needle for hems and decorative topstitching
What does not
- A compromise by design — for a stretchy knit a jersey needle skips fewer stitches, and for heavy denim a denim needle deflects less
- Blunts long before it looks blunt; a needle that has sewn eight hours is due for replacement
- Twin needles are not compatible with every stitch on every machine — check your manual first
How many bobbins, and which ones
Machines ship with three or four — Brother lists three with the CS7000X, XM2701 and LX3817, four with the XR9550 and four with the XM1010. That is fewer than a single project uses: one garment in two thread colors plus a basting color is three, and running out mid-seam means unthreading the machine to wind another.
Wind one per color you use regularly and keep them on a bobbin ring so the thread tails cannot unwind and tangle.
Three winding problems and their causes
If the stitches themselves are the problem rather than the winding, start with thread bunching underneath — despite the name, that one is almost always the top thread.
Answers
Questions people ask
How do I wind a bobbin on a sewing machine?
Why does my bobbin wind unevenly?
Which way should the bobbin thread unwind?
How full should a bobbin be?
Can I use any bobbin in my machine?
How many bobbins do I need?
Where this came from
Sources
- Brother USA — LX3817 specifications, independent bobbin winding motor (checked 1 September 2026)
- Brother USA — XM1010 specifications, automatic bobbin winding system and carton contents (checked 6 September 2026)
- SINGER — M1500 specifications, front-loading bobbin case and Class 15 guidance (checked 1 September 2026)
- Brother USA — CS7000X carton contents, bobbin count (checked 1 September 2026)
About the author
Scooter M.
An enthusiast who is genuinely into this. I read the manuals, compile the published specs, and do the arithmetic. No lab coat, no test bench, and no machines I am pretending to have used — which is exactly why every claim here carries a source.
Published by Slate Mill Group. Published September 6, 2026; last updated September 6, 2026. Editorial policy.
Keep reading
Read next
Threading
How to thread a sewing machine
The threading order, and the two steps beginners skip that cause almost every tension problem.
Bobbin systems
Drop-in vs front-loading bobbin
Four steps versus nine, why the difference shows up as thread bunching, and which machines use which system.
The bunching fix
Bobbin thread bunching up underneath
The nest of loops underneath is a top-thread fault. Four checks, in order, and the fix is free.
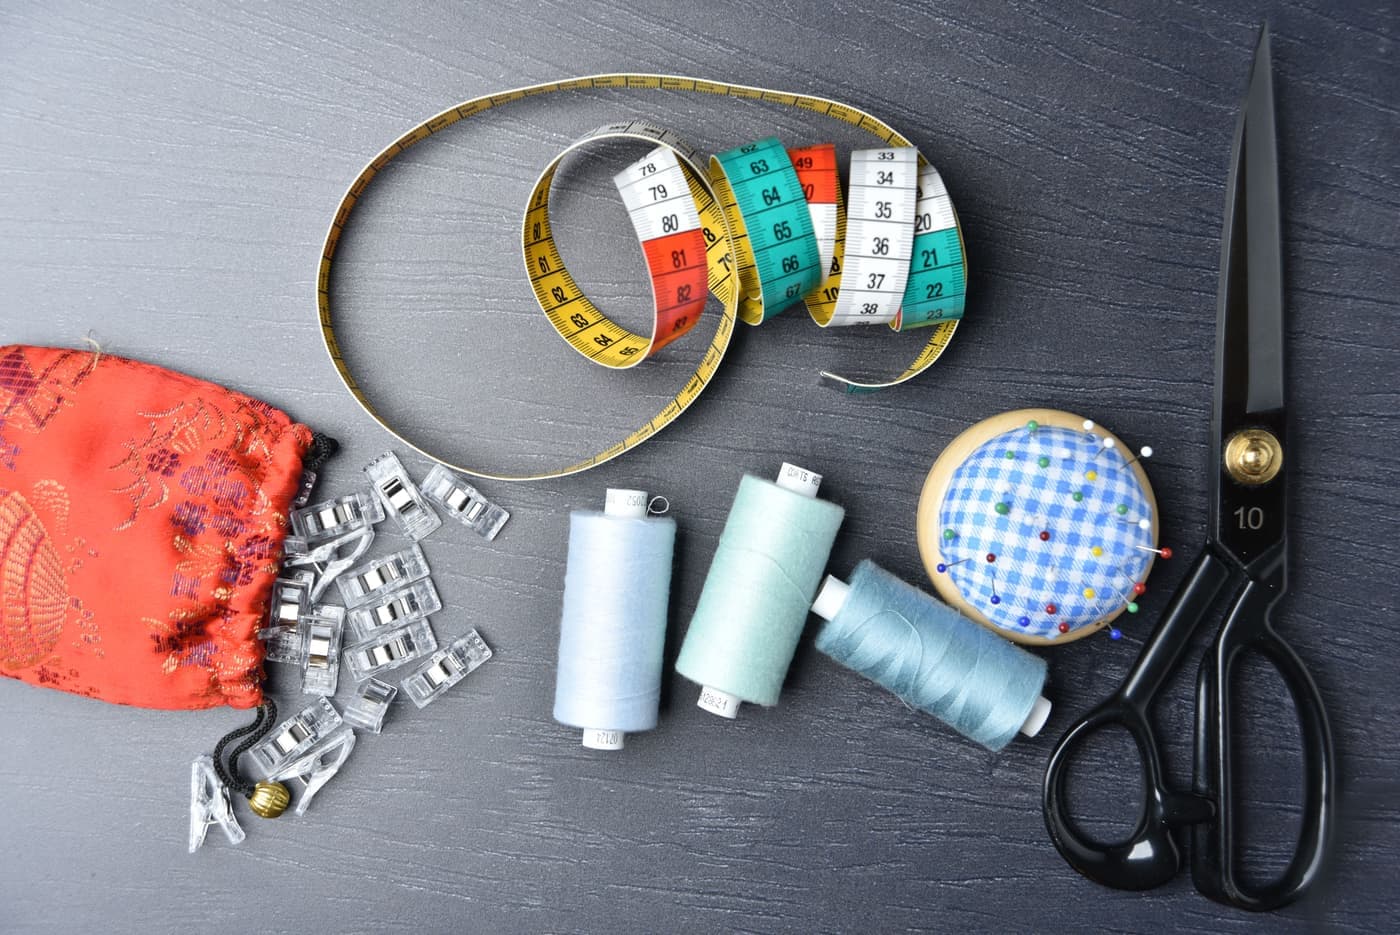
Best starter kit
The sewing machine starter kit, built from what your machine did not include
Built backwards from the carton contents the manufacturers publish, so you buy the gaps rather than duplicates.