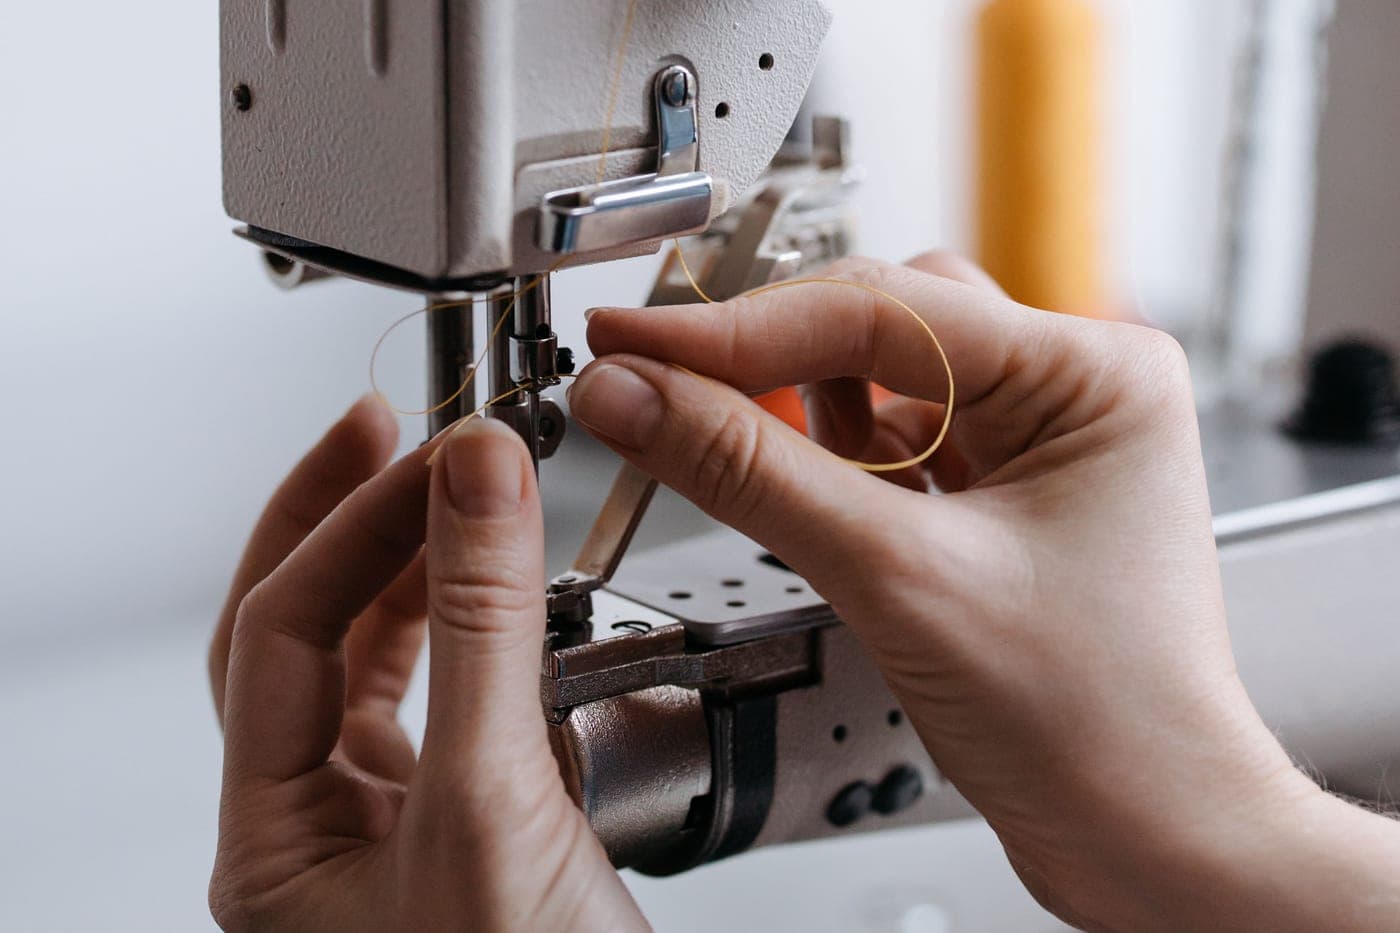
Raise the presser foot before you thread the top, and raise the needle to its highest point. The presser foot lever opens the tension discs; thread the machine with the foot down and the thread cannot seat between them, which is the single most common cause of loose loops under the fabric.
Before you start
Two pieces of jargon you will meet in every manual. The tension discs are two metal plates the top thread passes between; how tightly they grip decides how much thread the needle can pull for each stitch. The take-up lever is the metal arm with a hole in it that rises and falls at the top of the machine; it pulls slack out of the top thread on every stitch. Miss either of them when threading and the stitch will be wrong no matter what you do to the dials.
Winding the bobbin
- Put the spool of thread on the spool pin and secure it with a spool cap if your machine has one.
- Take the thread around the bobbin winder tension disc — a small separate disc, usually near the top left. Skipping this is why a bobbin winds loose and unevenly, and a loosely wound bobbin causes tension problems later.
- Thread the end through a hole in the top of the empty bobbin from the inside out, and put the bobbin on the winder spindle.
- Push the spindle to the right until it clicks. On most machines this disengages the needle so it will not move while you wind.
- Hold the loose thread end and press the foot pedal. After a few turns, stop and snip the tail off flush.
- Wind until the machine stops or the bobbin is full, then push the spindle back to the left and cut the thread.
Brother lists an independent bobbin winding motor on the LX3817, which means winding does not drive the needle at all. Most machines simply disengage the needle drive when you push the spindle across. A fuller walkthrough, including what a badly wound bobbin costs you later.
Threading the top
- Raise the presser foot. This is the step people skip. The presser foot lever mechanically opens the tension discs, and only when they are open can the thread drop down between them.
- Raise the needle to its highest position, by turning the handwheel toward you until the take-up lever is at the top. If the take-up lever is down, you cannot thread it.
- Run the thread from the spool through the top thread guide, following the numbered path printed on your machine — every machine has one.
- Take it down the right-hand channel, around the bottom, and back up the left-hand channel. The tension discs live at the bottom of that U.
- Pass it through the eye of the take-up lever, right to left.
- Bring it back down, through the lower thread guides, and into the needle from front to back.
- If your machine has an automatic needle threader, lower the lever, hook the thread, and release. Brother lists this as automatic on the CS7000X, XM2701 and XR9550. On the LX3817 and the SINGER M1500 you are threading by eye.
- Pull about six inches of thread through and lay it back under the presser foot.
Loading the bobbin
Drop-in bobbin (every Brother machine we cover, and the SINGER Heavy Duty 4423)
- Slide the clear cover off the bobbin compartment beside the needle.
- Drop the bobbin in so the thread comes off it in the direction the diagram on your machine shows — usually counter-clockwise. This direction is not decorative; it determines whether the thread runs through the tension slot or bypasses it.
- Pull the thread into the slot and along the guide groove.
- Replace the cover, leaving the thread tail out.
Front-loading bobbin (the SINGER M1500)
- Open the flap below the needle and pull the bobbin case out by its latch.
- Drop the bobbin into the case so the thread unwinds in the direction shown in your manual.
- Pull the thread into the slot in the case and under the flat tension spring — you should feel a slight resistance when you tug it.
- Hold the latch open, slide the case back onto the post until it seats, and release. It should click.
Bring the bobbin thread up
Hold the top thread loosely. Turn the handwheel toward you through one full rotation, so the needle goes all the way down and comes back up. The top thread will catch the bobbin thread and bring a loop up through the needle plate. Pull that loop through with your fingers or a pin, and lay both threads back under the presser foot.
Always turn the handwheel toward you. Turning it backwards can jam the hook timing.
Test before you sew anything real
Two layers of scrap in the same fabric as your project. Sew six inches, then look at both sides. A correct stitch looks the same from above and below, with the threads locking in the middle of the fabric rather than lying on either surface.
- Loops on the underside — the top thread is not in the tension discs. Rethread the top with the presser foot up. This is nearly always it.
- Loops on the top surface — the bobbin thread is not seated in its tension slot. Reload the bobbin.
- Puckered seam — tension too tight, or the needle is too large for the fabric.
- Skipped stitches — the needle is blunt, bent, or the wrong type for the fabric. Change it first.
Answers
Questions people ask
Why do I have to raise the presser foot to thread a sewing machine?
Which way should the bobbin thread unwind?
Why does my bobbin wind unevenly?
Should I turn the handwheel toward me or away?
Where this came from
Sources
- Brother USA — CS7000X specifications, automatic needle threading and quick-set bobbin (checked 1 September 2026)
- Brother USA — LX3817 specifications, independent bobbin winding motor and manual threading (checked 1 September 2026)
- SINGER — M1500 specifications, front-loading bobbin (checked 1 September 2026)
About the author
Scooter M.
An enthusiast who is genuinely into this. I read the manuals, compile the published specs, and do the arithmetic. No lab coat, no test bench, and no machines I am pretending to have used — which is exactly why every claim here carries a source.
Published by Slate Mill Group. Published September 1, 2026; last updated September 1, 2026. Editorial policy.
Keep reading
Read next
The bunching fix
Bobbin thread bunching up underneath
The nest of loops underneath is a top-thread fault. Four checks, in order, and the fix is free.

Your first seam
How to use a sewing machine for the first time
Setup to finished seam in about an hour, plus the four stitches that cover a first year of sewing.
Troubleshooting
Sewing machine problems and how to fix them
Five faults, their real causes, and the sequence to check in — starting with the two that fix most of them.
Thread
Thread for beginners
Buy all-purpose polyester in three colors, understand why cheap thread shreds, and match thread weight to needle groove.