Set the machine on a firm surface, thread it with the presser foot up, sew six inches on scrap to check the stitch, then sew your seam: needle down, foot down, three stitches forward, three in reverse, then forward to the end. Steer by watching the seam guide on the needle plate, not the needle.
Setting up
- Put the machine on a firm, flat surface at a height where your forearms are roughly level. A machine on a wobbling table walks as it sews, and a machine that walks sews crooked.
- Plug in the foot pedal and the power lead, and check the power switch. The light coming on tells you the machine is live.
- Wind a bobbin and thread the machine. Full threading walkthrough here.
- Put in a fresh needle, flat side of the shank to the back on almost every domestic machine, pushed all the way up before you tighten the screw. A needle not fully seated is a common cause of skipped stitches.
- Set the stitch to a straight stitch at about 2.5 mm length, which is the default for ordinary seams.
Learning the pedal before you learn anything else
Take unthreaded scrap fabric, or no fabric at all, and just run the machine. Press gently and find the point where it starts to move. Hold it there. Then increase, then back off. The whole skill of sewing straight is pedal control, and five minutes spent here saves an hour later.
If your machine has a speed limiter — Brother lists adjustable sewing speed control on the CS7000X — set it low for your first sessions. If it does not, be aware of what you are working with: the SINGER Heavy Duty 4423 runs to 1,100 stitches per minute, which is a lot of machine under a nervous foot.
The test stitch, which is not optional
Take two layers of the same fabric you are about to use and sew six inches. Look at both sides. A correct stitch looks identical from above and below — the two threads lock inside the fabric, not on either surface. Loops underneath mean the top thread is not seated in the tension discs; loops on top mean the bobbin thread is not in its tension slot. In both cases, rethread rather than adjusting the tension dial.
Sewing your first seam
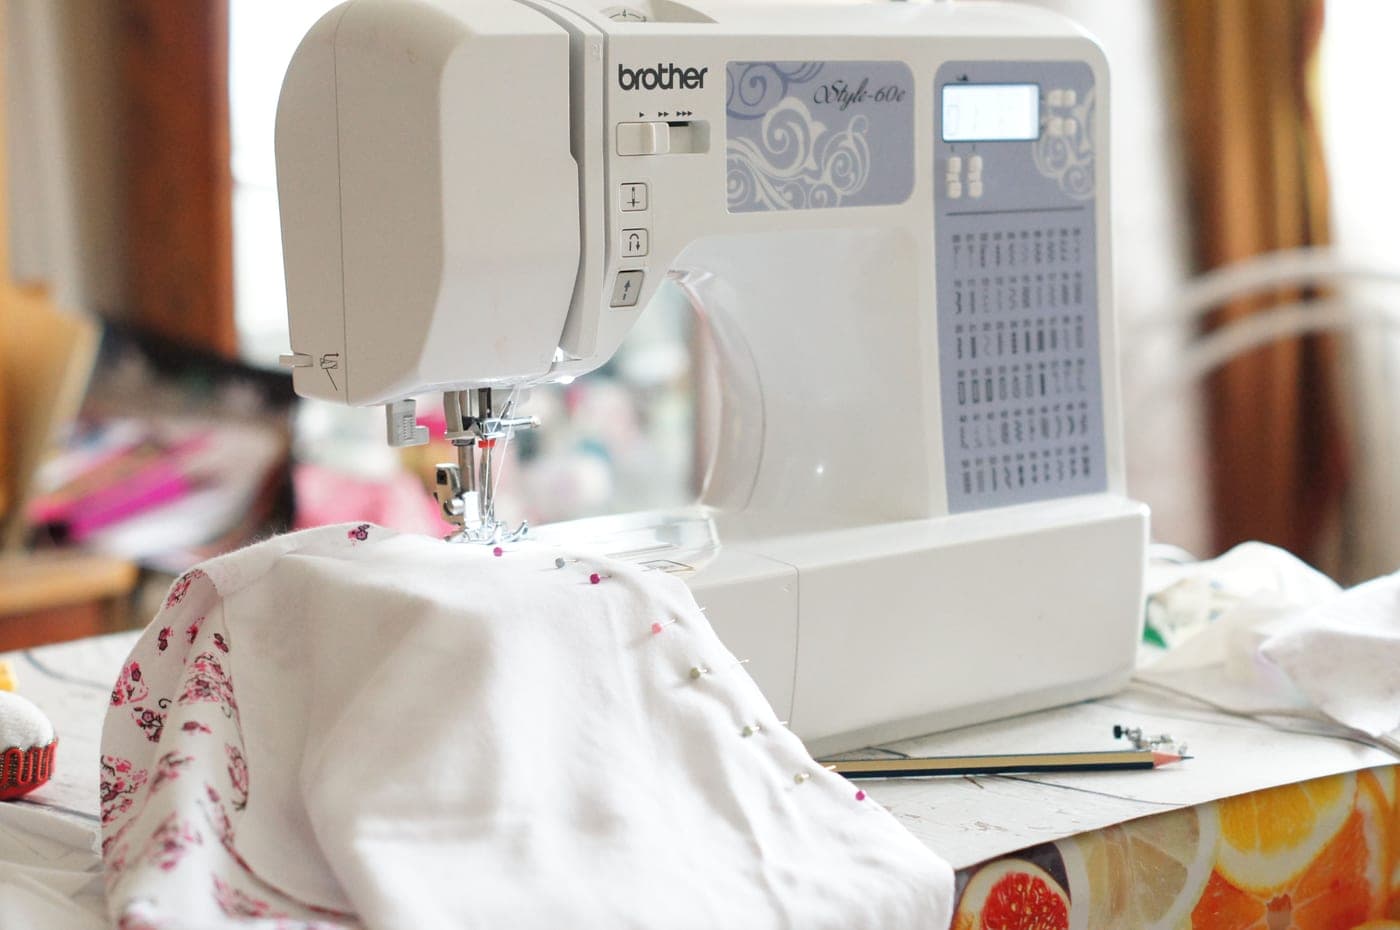
- Pin the two layers with right sides together, pins at right angles to the seam so you can pull them out easily as you approach.
- Line the fabric edge up with a marked line on the needle plate — those engraved lines are seam allowance guides, usually marked in eighths of an inch or millimeters. Most patterns use 5/8 in for garments and 1/4 in for quilting.
- Turn the handwheel toward you to put the needle down into the fabric at the start point.
- Lower the presser foot. Forgetting this is the classic first mistake: with the foot up there is no pressure on the feed dogs, so the fabric does not move and the threads bunch instantly.
- Sew three or four stitches forward, hold the reverse lever and sew back over them, then release and sew forward. That backstitch locks the seam so it will not unravel.
- Sew to the end at a steady speed, keeping the fabric edge on the seam guide. Do not watch the needle — you cannot steer from there.
- Backstitch again at the end. Raise the needle, raise the presser foot, pull the fabric back and away, and cut the threads leaving a few inches on the machine.
Turning a corner
Stop with the needle down in the fabric. Raise the presser foot, pivot the fabric around the needle to the new direction, lower the foot and continue. The needle acts as the pivot pin, so the corner is exact.
Machines with a needle up/down button make this easier. Without one, use the handwheel to put the needle down before you lift the foot.
The four stitches you will actually use
- Straight stitch, 2.5 mm for ordinary seams. Lengthen to 4-5 mm for basting — long temporary stitches you will pull out — and for gathering.
- Zigzag, for finishing a raw edge so it does not fray, and for sewing knits where a straight stitch would snap.
- Buttonhole. One-step machines size it to the button you drop into the foot. Four-step machines walk you through four dial positions.
- A stretch or blind hem stitch, depending on what your machine offers. Stretch stitches flex with knit fabric; blind hem stitches produce a hem that is almost invisible from the right side.
Everything else on the dial is decoration. A machine with six stitches and a machine with 165 do the same four things.
Press as you go
Press every seam before you cross it with another one. Not iron — press: lift, place, hold, lift. Sliding an iron along a seam stretches it. This is the single largest difference between something that looks homemade and something that looks finished, and it costs nothing.
What to do when it goes wrong
It will, in the first hour, and it is almost always one of five things. Work through the troubleshooting sequence in order rather than guessing, and start with rethreading — that alone resolves most of them. If you are looking at a nest of loops underneath the fabric, go straight here.
Then make something. Four first projects that are forgiving of imperfect steering and teach a specific skill each.
Answers
Questions people ask
How do I sew in a straight line?
What is backstitching and why do it?
What stitch length should I use?
Why is my fabric not moving?
How long does it take to learn to use a sewing machine?
Where this came from
Sources
About the author
Scooter M.
An enthusiast who is genuinely into this. I read the manuals, compile the published specs, and do the arithmetic. No lab coat, no test bench, and no machines I am pretending to have used — which is exactly why every claim here carries a source.
Published by Slate Mill Group. Published September 1, 2026; last updated September 1, 2026. Editorial policy.
Keep reading
Read next
Threading
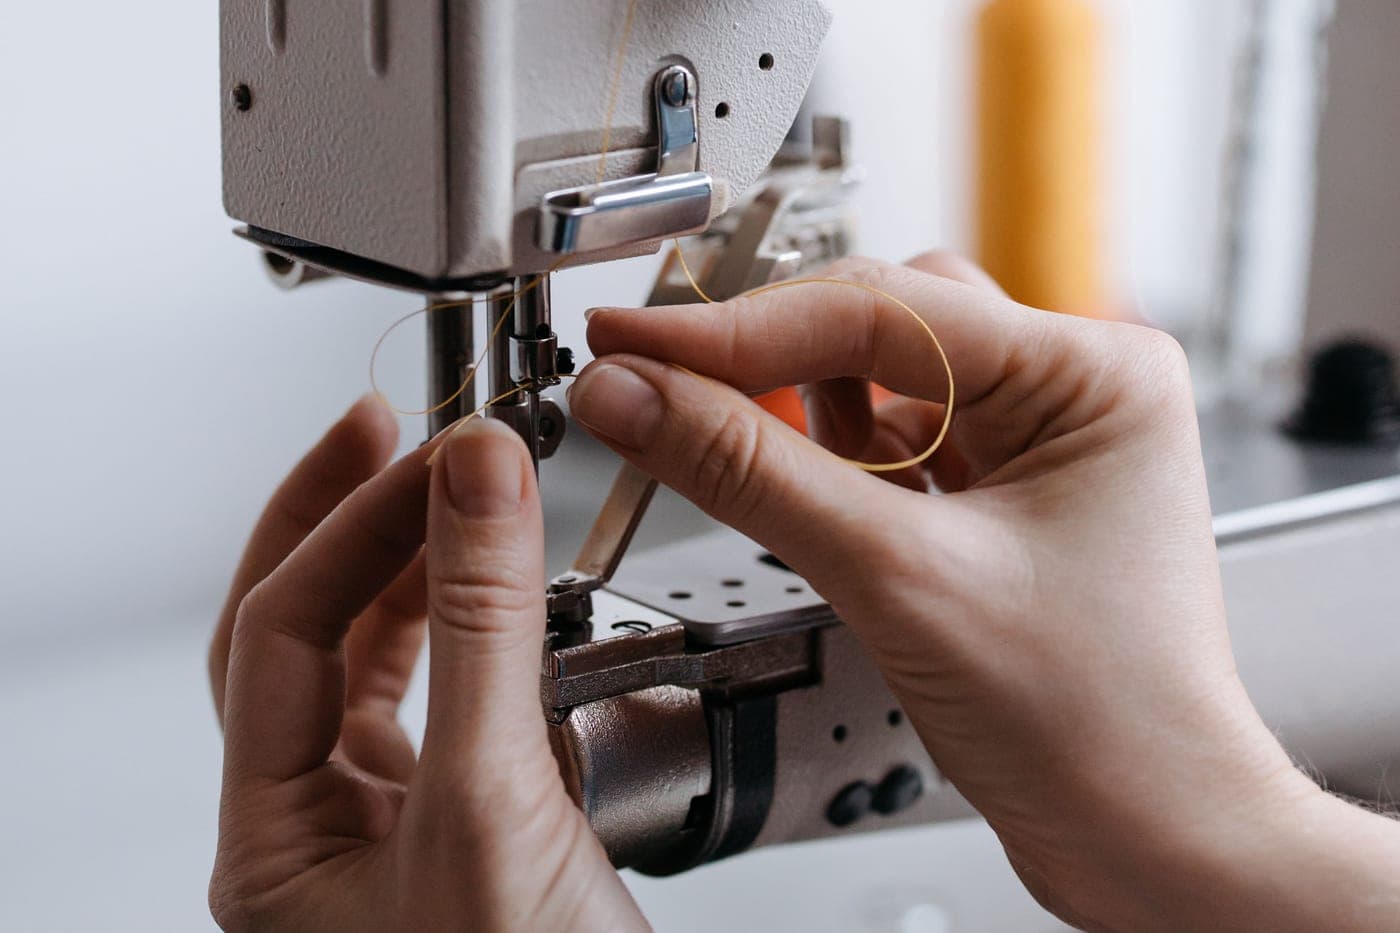
How to thread a sewing machine
The threading order, and the two steps beginners skip that cause almost every tension problem.
First projects
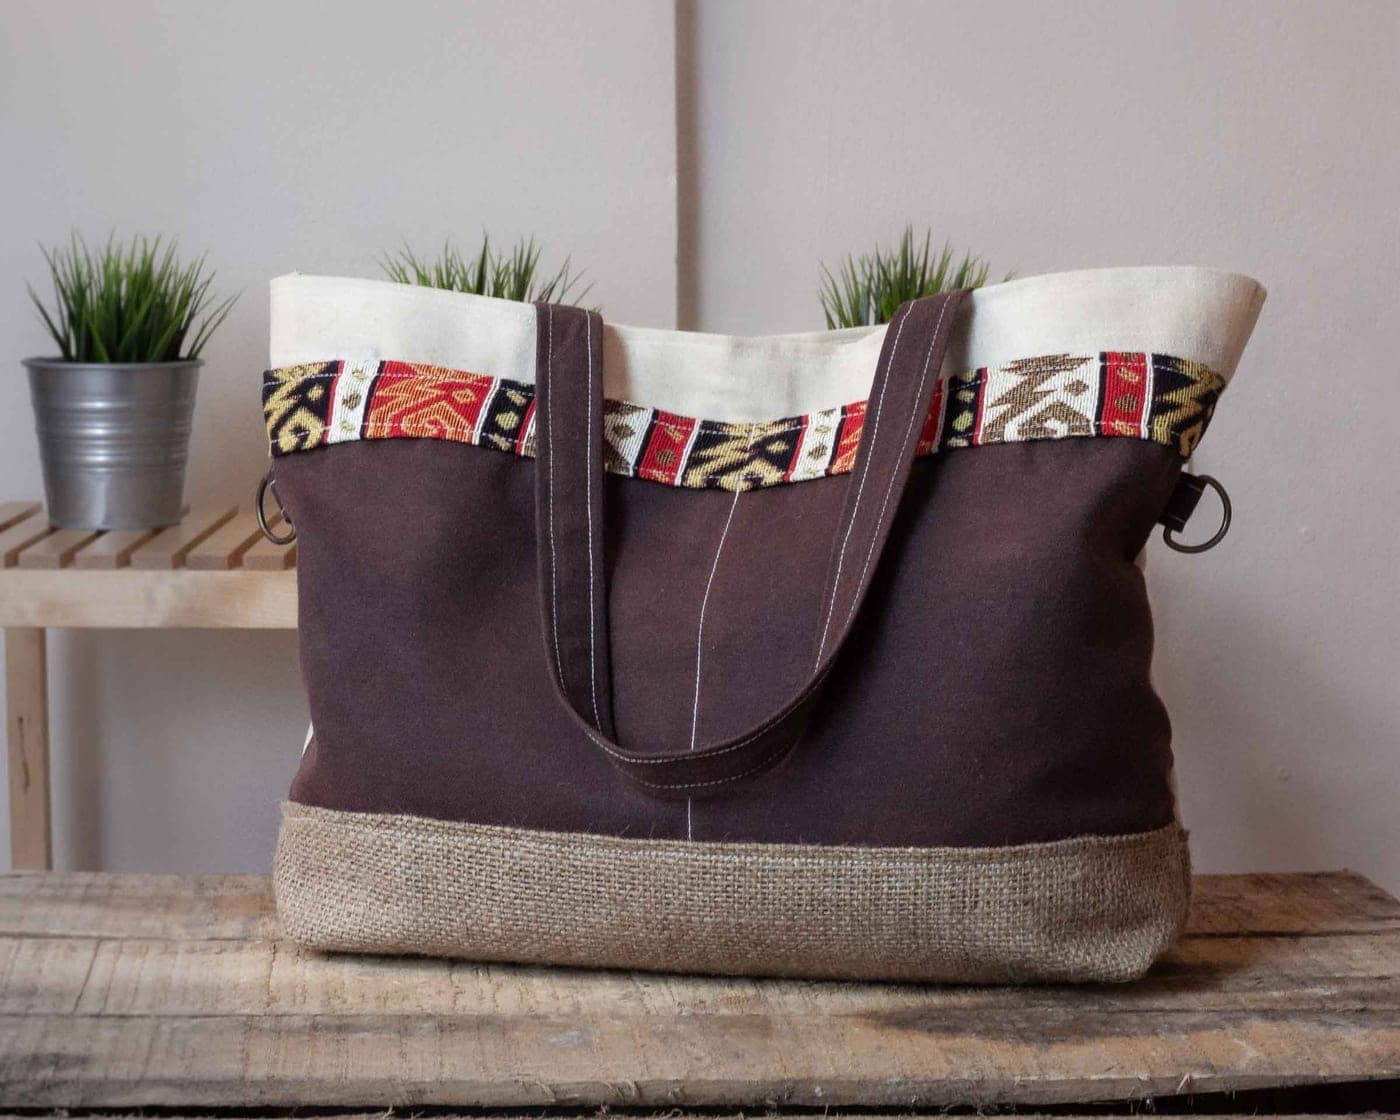
Four first sewing projects worth making
Four rectangle projects in order, each teaching one skill — and none of them needs a pattern.
Troubleshooting
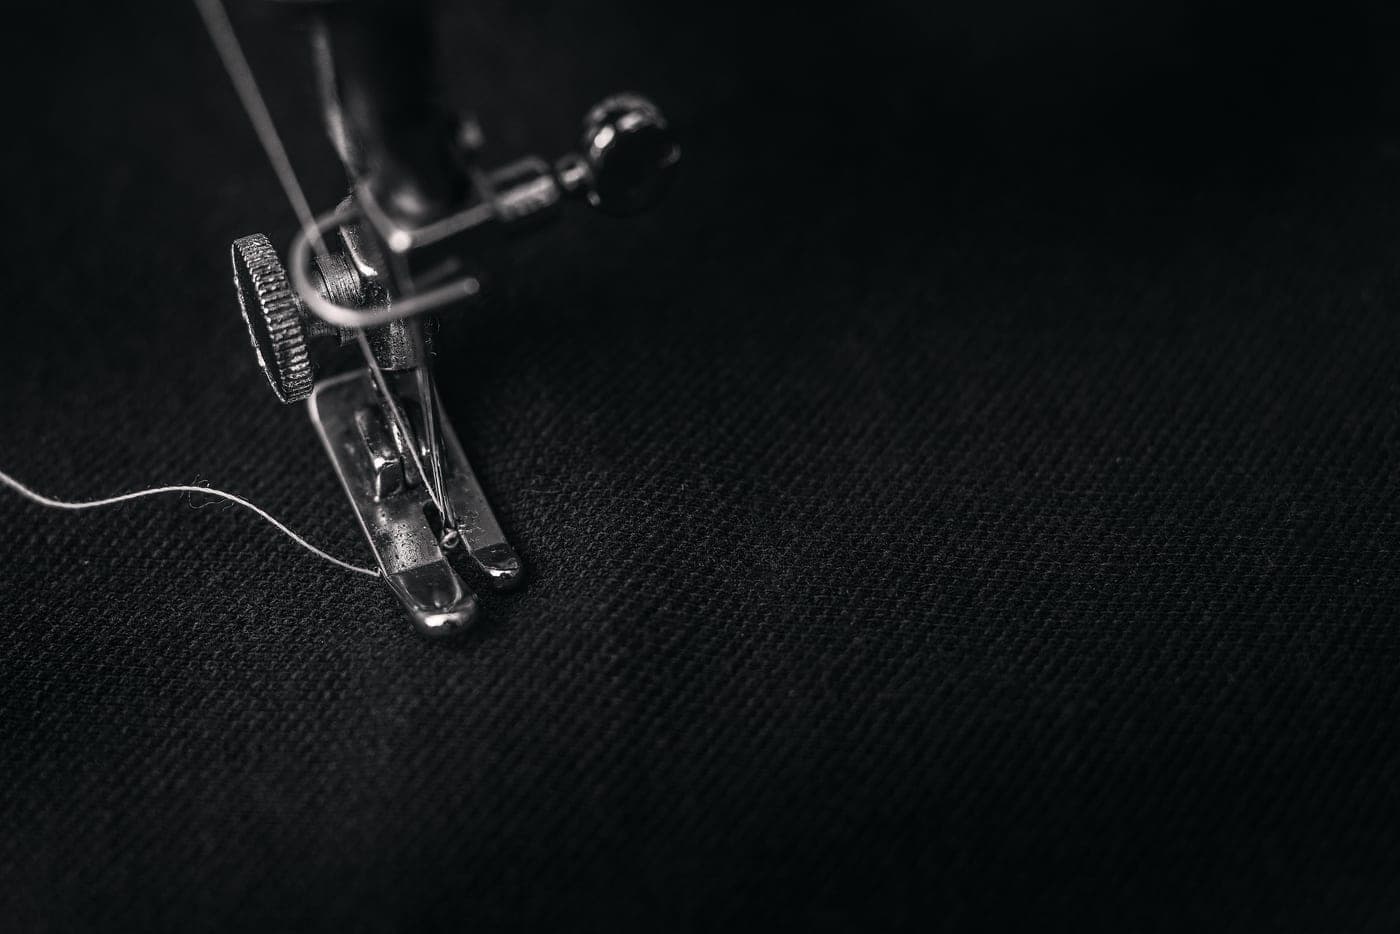
Sewing machine problems and how to fix them
Five faults, their real causes, and the sequence to check in — starting with the two that fix most of them.
Best overall
The best sewing machines for beginners
Six machines ranked on threading, bobbin, buttonhole and included feet — with the one we say not to buy first.