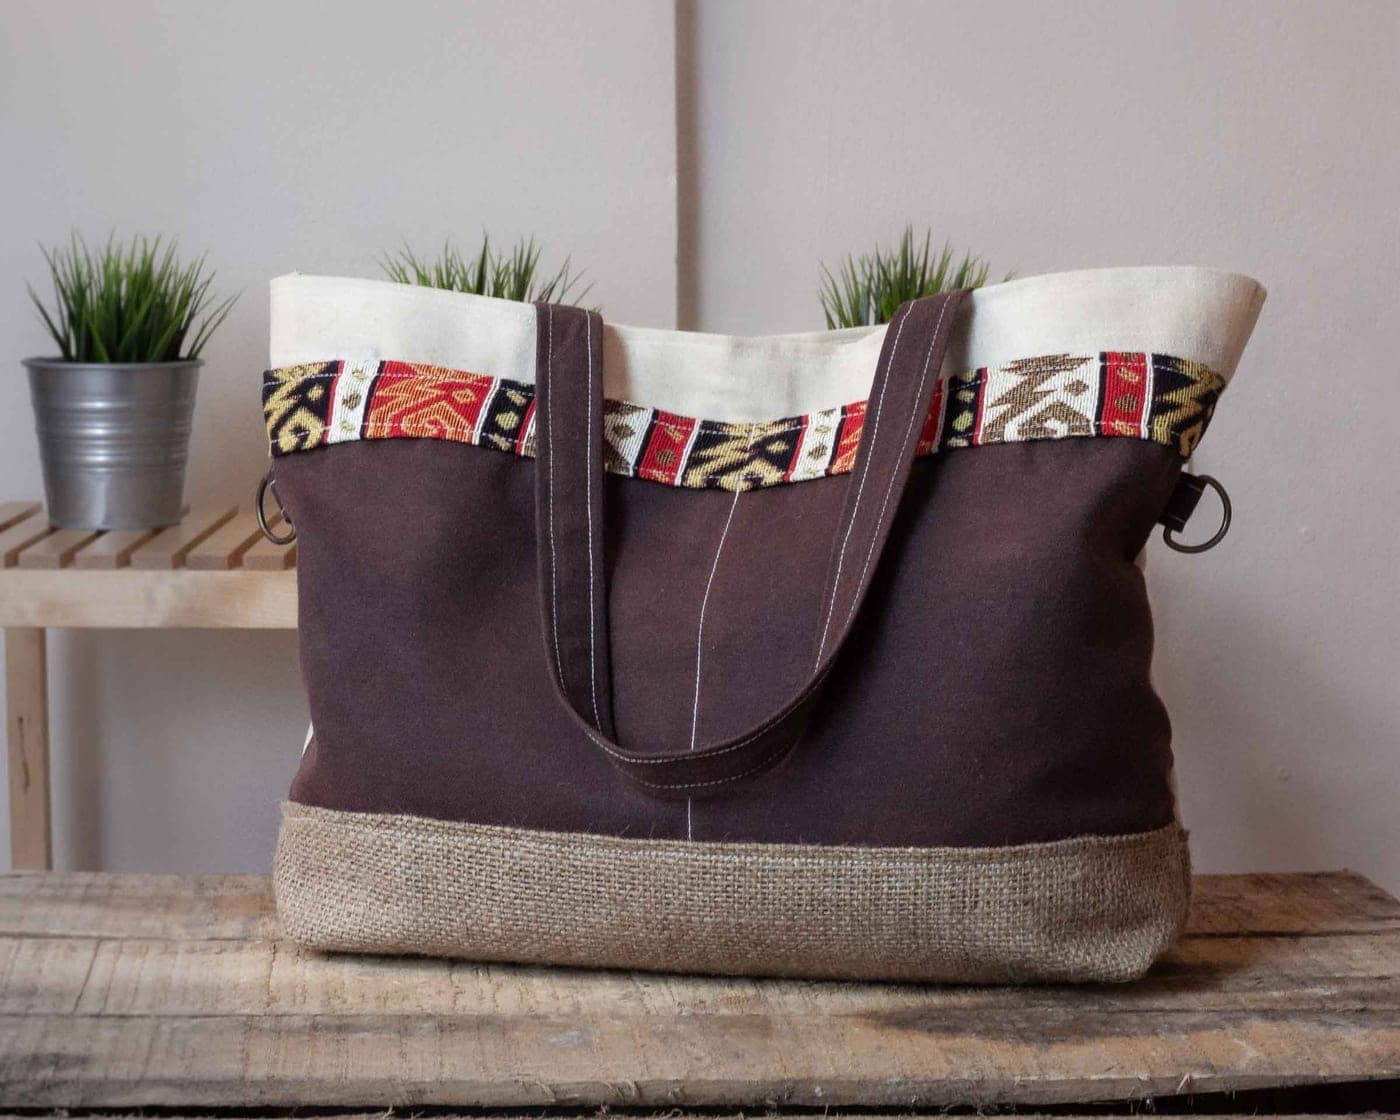
Start with napkins, then a pillowcase, then a drawstring bag, then a tote bag. Each is cut from rectangles, needs no pattern and no fitting, and teaches exactly one new skill — a hem, a long straight seam, a channel and a curve. Use quilting cotton for all four.
Why rectangles first
A beginner's steering is not yet reliable, and a curved seam punishes that immediately. A rectangle does not. It also removes the two things that make a first garment discouraging: cutting from a paper pattern, and fitting to a body. Both are learnable and neither belongs in your first week.
Use quilting cotton throughout. It is stable — it does not stretch or slide under the presser foot — it presses crisply, it shows your stitch line clearly so you can see what you are doing, and it is cheap enough that ruining a piece costs nothing. Choosing fabric as a beginner covers what else behaves and what to leave until later.
Project 1 — napkins. Skill: a double-fold hem.
Cut squares about 16 inches. On each edge, fold a quarter inch to the wrong side and press. Fold again by another quarter inch and press again, so the raw edge is enclosed. Pin, then topstitch close to the inner fold.
What it teaches: the double-fold hem, which is the standard way to finish an edge on almost anything — a curtain, a shirt hem, a bag opening. It also teaches you to trust the press. If you press each fold firmly, the hem stays put and you barely need pins; if you do not, you will fight it the whole way.
The tricky bit is the corners. Trim each corner diagonally before the second fold so the fabric is not four layers thick at the point.
Project 2 — an envelope pillowcase. Skill: a long straight seam.
For a standard cushion pad, cut one front square the size of the pad plus a seam allowance all round, and two back pieces each about two-thirds of the width, so they overlap in the middle. Hem one long edge of each back piece with a double-fold hem — you now know how.
Lay the front right side up, place the two back pieces right side down on top so their hemmed edges overlap in the middle, pin all round and sew the whole perimeter with a straight seam. Clip the corners diagonally, turn it right side out, and push the corners out with something blunt.
What it teaches: a long, consistent seam allowance, corners pivoted with the needle down, and the moment where a flat piece of fabric becomes an object. It is also genuinely useful, which matters more for motivation than it sounds.
Project 3 — a drawstring bag. Skill: a channel.
Cut two rectangles the same size. Sew them right sides together down both sides and across the bottom, stopping about two inches from the top on each side. Press the seam allowances open all the way to the top, including the unsewn part.
Fold the top edge down to make a channel wide enough for your cord, press, and stitch it down close to the folded edge. The gaps you left in the side seams are the openings the cord passes through. Thread the cord with a safety pin.
What it teaches: stopping and starting a seam in a controlled place, pressing seam allowances open, and constructing something with an internal channel — which is exactly how a waistband with elastic works.
Project 4 — a lined tote bag. Skill: a curve and a turned edge.
Cut two outer rectangles and two lining rectangles the same size, plus four strap pieces. Sew each pair right sides together along the sides and bottom. Cut a small square out of each bottom corner and sew across the opening to box the base — this is what makes a bag stand up rather than lie flat.
Make the straps by folding long strips into four and topstitching both edges. Pin them to the outer bag, then put the outer bag inside the lining with right sides together, sew round the top opening leaving a gap, turn everything through the gap, press, and topstitch the top edge closed.
What it teaches: the turned-through construction that lines every bag, jacket and cushion you will ever make, plus a small amount of curve on the boxed corner. This is the first project where the finished thing has an inside and an outside that both look deliberate.
The habits worth forming while the stakes are low
- Press every seam before you cross it. Lift, place, hold, lift — do not slide the iron, which stretches the seam.
- Backstitch at the start and end of every seam so it cannot unravel.
- Test your stitch on scrap from the same fabric before every project.
- Change your needle at the start of a project you care about.
- Cut accurately. More beginner problems come from crooked cutting than from crooked sewing, and no amount of careful stitching fixes two pieces that were never the same size.
Where to go next
If you liked the construction, a first quilt is the natural next step and stays in rectangles. If you want to make clothes, start here — the first garment should still be an unfitted one. And if something on your machine has started misbehaving, work through the fixes.
These four are also the right first projects for a child, for the same reason: rectangles forgive imperfect steering. If you are still choosing the machine, sewing machines for kids ranks on the specifications that actually matter at that age.
Answers
Questions people ask
What should a beginner sew first?
What fabric is best for a first sewing project?
Do I need a pattern for my first project?
How do I stop my corners looking bulky?
About the author
Scooter M.
An enthusiast who is genuinely into this. I read the manuals, compile the published specs, and do the arithmetic. No lab coat, no test bench, and no machines I am pretending to have used — which is exactly why every claim here carries a source.
Published by Slate Mill Group. Published September 1, 2026; last updated September 1, 2026. Editorial policy.
Keep reading
Read next
Your first seam
How to use a sewing machine for the first time
Setup to finished seam in about an hour, plus the four stitches that cover a first year of sewing.
First quilt
Your first quilt project
A baby or lap quilt in squares — the size a domestic machine can actually handle, and the seam that decides it.
Garment sewing
Learning to sew your own clothes
The order to learn in, the four forgiving first garments, and the machine features garment sewing actually needs.
The checklist
What you actually need to start sewing
Must-have, can-wait and skip — with the items your machine already includes removed from the list.