Stitch & Selvage earns a commission when you buy through the links on this page, at no extra cost to you. It does not change what we recommend, and we publish a skip-this verdict on products we could otherwise earn from. Full disclosure.
Learn in this order: an unfitted woven garment, then a knit T-shirt, then something with a waistband, then something with buttons. Fitting is the hard part of garment sewing, not stitching, so the first garments should be the ones that do not need much of it.
The thing nobody says out loud
Sewing a garment is not difficult. Fitting a garment is difficult, and it is a separate skill that has almost nothing to do with your machine. A beginner who starts with a fitted dress will conclude they cannot sew, when what actually happened is that they attempted a pattern-adjustment problem on their first attempt.
So the sequence below is arranged by how much fitting each garment demands, not by how many seams it has.
Stage 1 — an unfitted woven garment
A simple elastic-waist skirt, a boxy woven top, or pajama trousers. Woven cotton, no zip, no buttons, no darts, and enough ease that being an inch out does not matter.
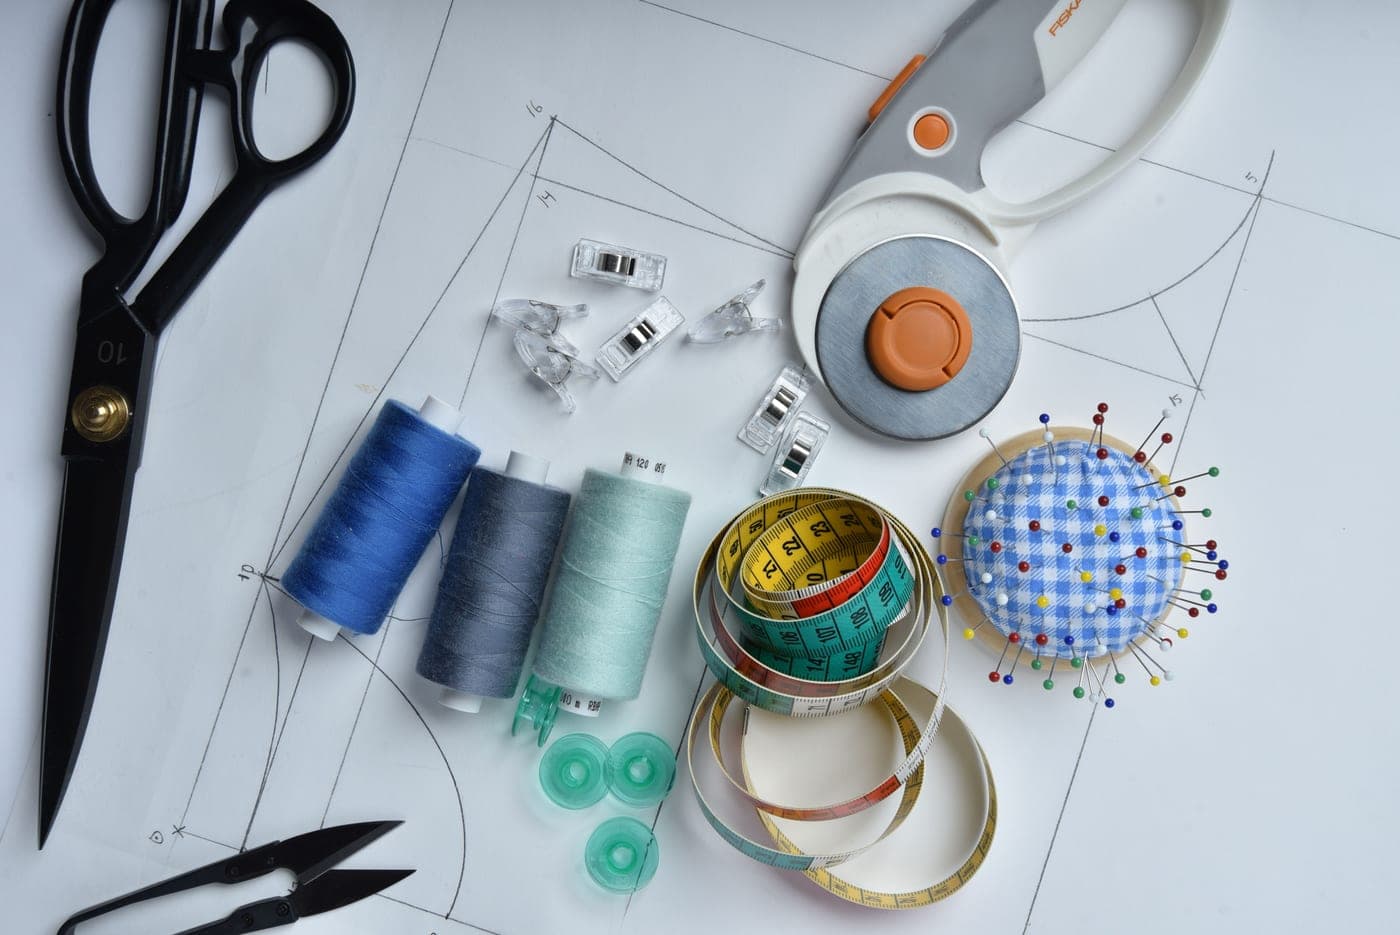
What you are actually learning here: reading a paper pattern, cutting accurately on grain, sewing a seam at a consistent 5/8 inch allowance, finishing raw edges so they do not fray, and pressing as you go. Those five things are most of garment sewing.
The finishing is the part beginners skip and regret. Inside a garment every raw edge frays a little more with each wash until the seam gives way. An overcasting foot wraps the thread around the edge as it zigzags, which encloses it — Brother lists one with the XR9550 and the CS7000X. Without one, a plain zigzag close to the edge, French seams, or pinking shears all work.
Stage 2 — a knit T-shirt
Knits are more forgiving of fit than wovens, because the fabric stretches to accommodate you. They are less forgiving of technique, which is a useful trade for a second garment.
Three changes: a ball point needle, a narrow zigzag or stretch stitch instead of a straight stitch, and slower feeding to avoid a wavy hem. Full detail on sewing knits. A walking foot helps a great deal here and is not essential.
Stage 3 — a waistband, and then a zip
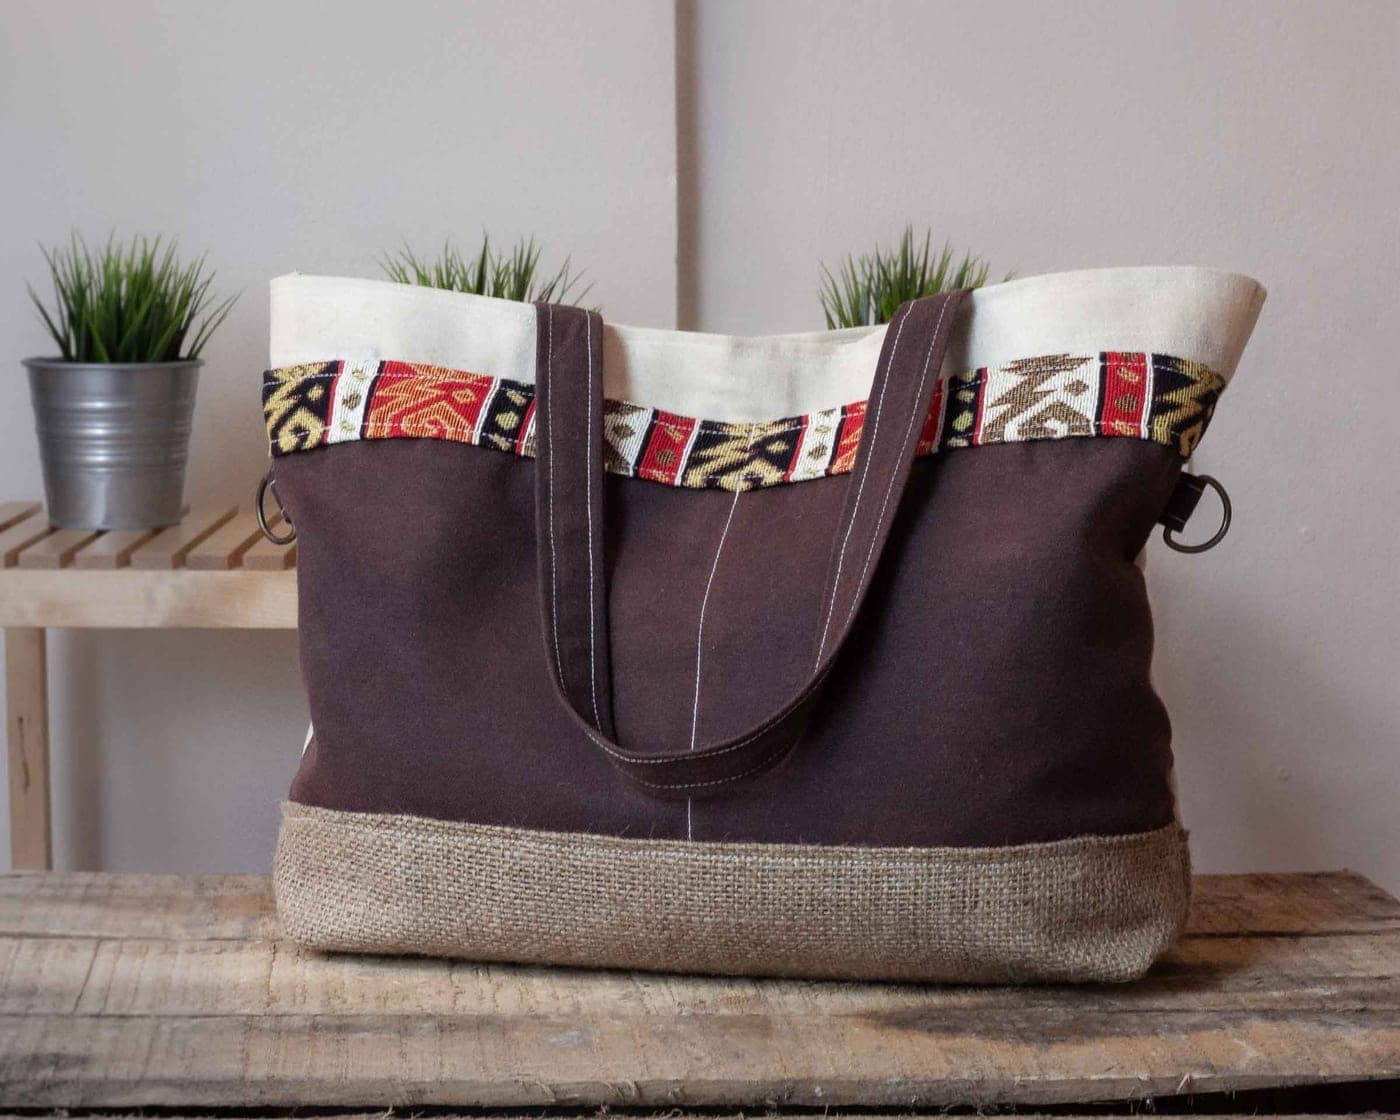
An elasticated waistband is a channel, which you already made on a drawstring bag. A flat waistband with a zip is the first genuinely fiddly operation in garment sewing.
A zipper foot is the enabling accessory, and every machine we cover includes one — Brother lists a zipper foot with all four of its machines and SINGER includes one with the M1500. The trick with a zip is that you sew right up beside the teeth, which a normal presser foot physically cannot do because the teeth sit under it.
Stage 4 — buttons and buttonholes
Buttonholes are last for a reason: they are usually the final operation on a garment, so a botched one ruins work you have already finished. Practice on scrap of the same fabric with the same interfacing before you touch the garment. Every time.
This is where your machine's specification matters most. A one-step buttonhole sizes itself to the button you drop into the foot and sews in a single operation. A four-step buttonhole means turning the dial through four positions and judging the length of each side yourself, and making eight match down a shirt placket is a real skill.
Brother lists seven one-step buttonhole styles on the CS7000X and eight on the XR9550, one on the XM2701, and a four-step on the LX3817. SINGER lists a one-step on the Heavy Duty 4423 and a four-step on the M1500. Different styles exist because different garments need them: a keyhole for a thick coat button with a shank, a plain rectangle for a shirt, a rounded one for fine fabric.
The ranking
Quick picks
Ranked against the published criteria below. Tap a row to jump to the full write-up; the price button goes straight to Amazon.
| # | Product | Best for | Score | Price |
|---|---|---|---|---|
| 1 |  Brother XR9550 Computerized Sewing & Quilting Machine Beginners who already know they want to make clothes | 165 built-in stitches | 8.9/10 | $269.99 on Amazon #ad affiliate link · price as of October 16, 2026 |
| 2 | 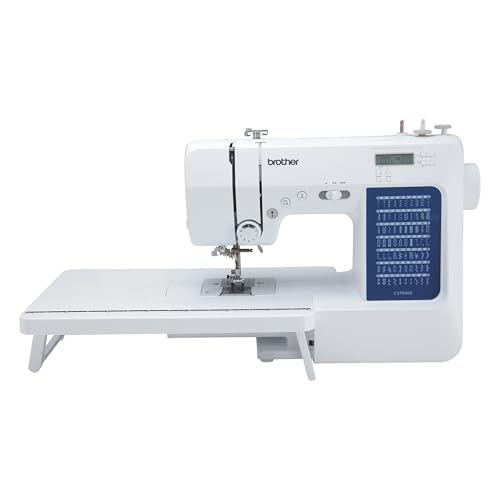 Brother CS7000X Computerized Sewing & Quilting Machine The first machine most beginners should buy | 70 built-in stitches | 9.2/10 | |
| 3 |  Jersey / ball point needles T-shirt fabric and anything that stretches | Sizes 70/10 to 100/16 | 8.2/10 | $6.78 on Amazon #ad affiliate link · price as of October 16, 2026 |
Beginners who already know they want to make clothes
Brother XR9550 Computerized Sewing & Quilting Machine
The stitch library and the buttonhole range are the point here: 165 stitches, eight one-step buttonhole styles and 55 alphanumeric characters, on the lightest machine in this line-up.
The XR9550 and the CS7000X sit at almost the same list price on Brother's own site — $269.99 against $279.99 — and they are not the same machine. The XR9550 spends its budget on the stitch library and the electronics; the CS7000X spends it on presser feet. Which is right for you comes down to one question: are you making clothes, or are you quilting?
For clothes, the XR9550 wins on buttonholes. Brother lists eight one-step auto-size buttonhole styles, against seven on the CS7000X and one on the XM2701. Buttonhole style matters more than it sounds — a keyhole buttonhole for a jacket, a rounded one for a blouse, a bar-tacked one for heavy cotton. It also carries an upper thread sensor, which stops you sewing eighteen inches of nothing before you notice the spool ran out, and a needle position key, which lets you shift the needle to sew an accurate narrow seam without owning a quarter-inch foot.
For quilting, the CS7000X wins, and it wins on one part: the walking foot. The XR9550 includes a spring-action quilting foot, which is a free-motion foot — it hops, and you move the fabric yourself. A walking foot is a different thing entirely: it feeds the top layer at the same rate as the feed dogs move the bottom layer, which is what stops a quilt sandwich shifting. The XR9550 does not include one.
The eight feet it does include cover garment work properly — an overcasting foot for finishing raw edges, a blind hem foot for invisible hems, a monogramming foot. Brother also puts a wide table and a hard case in the box, and at 10.14 lb it is the lightest machine on this site.
We have not sewn on this machine. The specifications are Brother's, and the price on the button is live from Amazon rather than remembered.
What works
- Eight one-step buttonhole styles — the widest buttonhole range of any machine here, and buttonholes are what garment sewing turns on
- An upper thread sensor: the machine tells you the top thread has broken instead of letting you sew an empty seam
- A needle position key, which is how you sew an accurate quarter-inch seam without a quarter-inch foot
- Wide table and hard case both included
- 10.14 lb, the lightest machine in this line-up
What does not
- No walking foot in the box, which the CS7000X does include for a similar list price
- 165 stitches is a menu to scroll, and a beginner will use perhaps eight of them
- 55 alphanumeric characters is a monogramming feature most first-time buyers will never open
- A backlit LCD and a thread sensor are more electronics to fail than a mechanical machine has
The kit it pairs with: Add a walking foot if you intend to quilt; the spring-action quilting foot in the box is for free-motion work, not for feeding batting evenly.
The first machine most beginners should buy
Brother CS7000X Computerized Sewing & Quilting Machine
The only machine on this page that arrives with the two feet a beginner ends up buying anyway — a walking foot and a quarter-inch foot — plus an automatic needle threader and a drop-in bobbin, so the two jobs that make people quit are the two jobs it makes easy.
The CS7000X is the machine we point a first-time buyer at, and the reason has nothing to do with its stitch count. It is the presser feet. Brother lists ten of them in the box — zigzag, buttonhole, zipper, button sewing, overcasting, blind stitch, monogramming, quarter-inch, quilting and walking — plus a quilt guide. Two of those, the walking foot and the quarter-inch foot, are the exact accessories a beginner ends up ordering three months in, and they are not cheap bought separately.
The second reason is the threading. Brother's published specification lists an automatic needle threading system and a quick-set drop-in top bobbin. Threading the needle and setting the bobbin are the two jobs that make people put a machine back in its box, and this one turns both into a lever pull and a drop. On a front-loading machine you are removing a case, seating a bobbin in a particular orientation, and hoping.
It is a computerized machine, which means stitch selection is a mode key and a shift key against an LCD rather than a dial. That is a genuine trade-off, not a straight upgrade: a dial is legible at a glance and has nothing to fail, while an LCD tells you the stitch width and length the machine has actually selected. For someone learning, seeing the numbers is worth more than the simplicity of a dial.
The extras matter more than they sound. The detachable wide table turns a small free-arm machine into something you can push a quilt across, and the hard protective cover is the difference between a machine that stays out on a table and one that lives in a cupboard collecting dust. Brother also publishes a 25-year limited warranty and free phone and online technical support for the life of the product.
We have not sewn on this machine. Everything above is from Brother's own specification page, and the price on the button is live from Amazon rather than anything we typed. What we can tell you is what the box contains and what that saves you buying — which, for a first machine, is most of the decision.
What works
- Automatic needle threader and a drop-in bobbin — the two setup jobs that defeat most beginners
- Ten presser feet including the walking foot and a quilting foot, which the cheaper machines make you buy separately
- Detachable wide table and a hard cover are in the box, not extras
- Adjustable sewing speed control, so a first seam can be run slowly
- Brother publishes a 25-year limited warranty on it
What does not
- Seventy stitches is far more than a beginner will use; you are paying for decorative stitches you may never touch
- Computerized machines have more to go wrong electronically than a dial-and-lever mechanical
- At 10.5 lb it is light enough to walk across a table at speed unless it is on a firm surface
The kit it pairs with: It already includes the walking foot and quilting foot, so its starter kit is short: needles, bobbins, thread, shears and pins.
T-shirt fabric and anything that stretches
Jersey / ball point needles
The needle that stops a knit from laddering — the difference between a T-shirt seam that holds and one that runs the first time it is stretched.
A knit fabric is made of loops, not a grid. Push a sharp needle through a loop and you sever it, and a severed loop unravels — that is what a run in a T-shirt is, and it is why a first attempt at hemming a jersey top so often produces a line of small holes along the stitching.
SCHMETZ describes the jersey / ball point needle as 'designed for sewing on knits and some stretch fabrics' and publishes it in 70/10, 80/12, 90/14 and 100/16, plus an assorted pack. The rounded tip slips between the loops rather than through them.
There is a second needle worth knowing about, because people buy the wrong one of the pair. SCHMETZ also publishes a stretch needle, 'designed for synthetic suede or elastic knitwear' with 'a deep scarf to prevent skipped stitches'. The scarf is the groove above the eye where the bobbin hook passes. On a very elastic fabric the material moves as the needle enters, the hook misses the loop of top thread and you get a skipped stitch; a deeper scarf gives the hook more room. So: jersey needle for ordinary T-shirt knits, stretch needle for swimwear, activewear and anything with elastane.
If your machine has been skipping stitches on knit fabric, change the needle before you change anything else. It is the cheapest fix on the list and it is right more often than any tension adjustment.
What works
- Pushes knit loops aside instead of cutting them, which is what prevents runs and holes
- Fixes most 'my machine skips stitches on T-shirt fabric' problems without touching a setting
- Cheap enough that there is no reason not to own a pack before you sew your first knit
What does not
- Wrong needle for woven fabric — the rounded point struggles to pierce a dense weave
- SCHMETZ lists a separate stretch needle with a deeper scarf for elastic knitwear and synthetic suede; for very stretchy fabric that is the better tool
- Not a substitute for a walking foot or a stretch stitch — it solves the needle half of the problem only
The four machine features garment sewing actually uses
- Buttonhole styles. The single most garment-specific feature on a spec sheet.
- An overcasting foot, so interiors do not fray. Brother includes one with the XR9550 and CS7000X.
- A blind hem foot, for hems that do not show. Brother includes one with the XR9550, CS7000X and XM2701.
- A zipper foot, which every machine we cover includes.
Notice what is not on that list: stitch count. Sixty-five decorative stitches contribute nothing to a garment. The full garment machine roundup.
On patterns, sizing and the emotional bit
Pattern sizes are not clothing sizes and are usually several numbers apart. Measure yourself, use the measurement chart on the pattern envelope, and ignore the number. This surprises everyone once and then never again.
Make a toile — a test version in cheap fabric — for anything fitted. It feels like a waste of an evening and it is the difference between a garment you wear and one you do not. Cheap calico is the traditional choice; an old sheet works.
And accept that your first garment will be visibly your first garment. So was everybody's.
Answers
Questions people ask
What should I sew first if I want to make clothes?
How long does it take to learn to sew clothes?
Do I need a serger to make clothes?
What machine features matter for garment sewing?
Why is my pattern size different from my clothing size?
Where this came from
Sources
About the author
Scooter M.
An enthusiast who is genuinely into this. I read the manuals, compile the published specs, and do the arithmetic. No lab coat, no test bench, and no machines I am pretending to have used — which is exactly why every claim here carries a source.
Published by Slate Mill Group. Published September 1, 2026; last updated September 1, 2026. Editorial policy.
Keep reading
Read next
Best for clothes
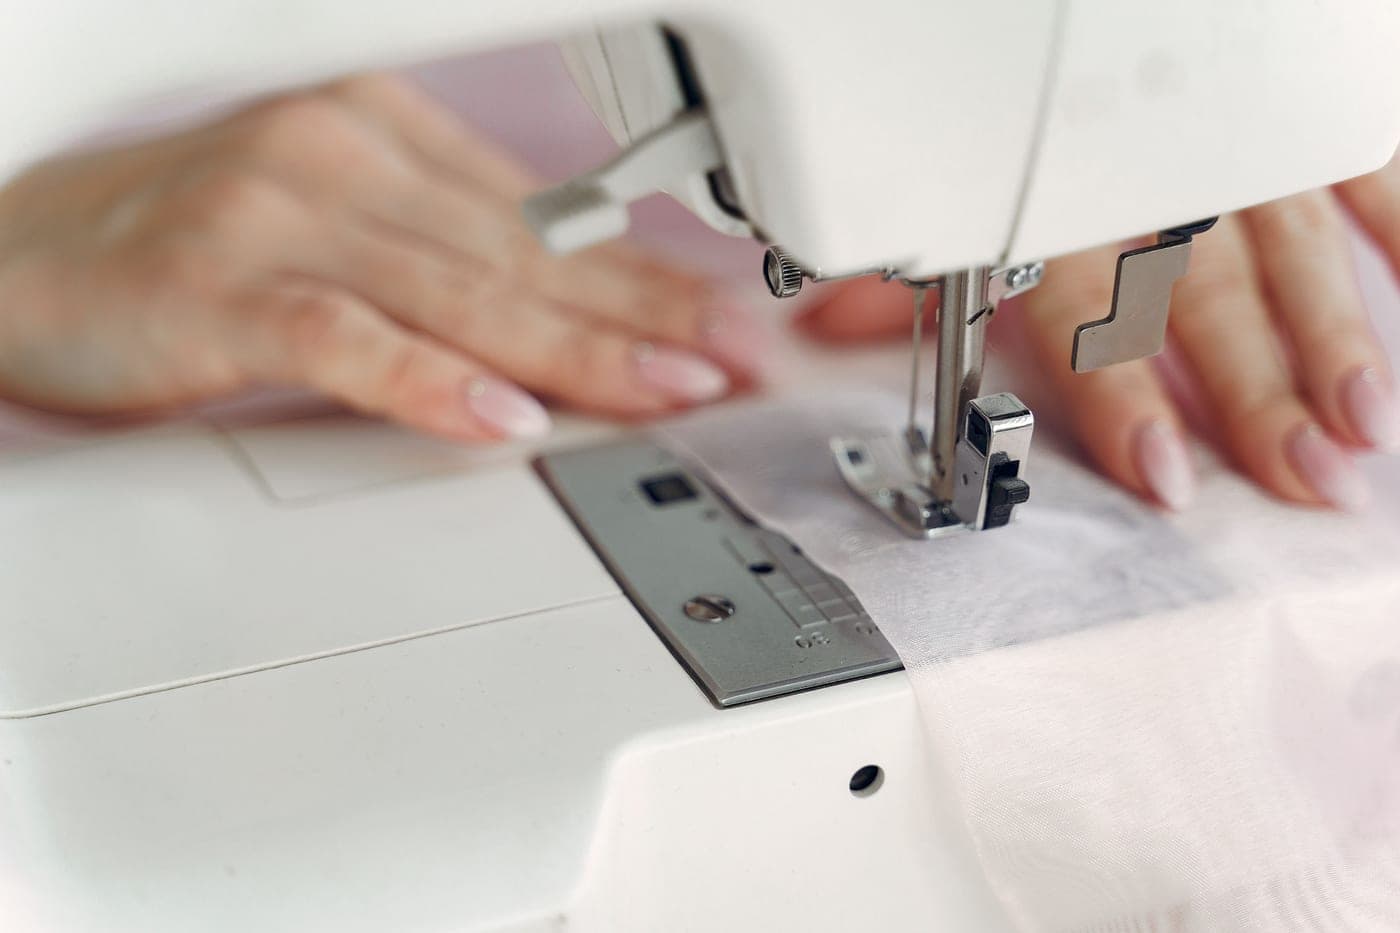
The best sewing machines for making clothes
Buttonhole styles, an overcasting foot and a blind hem foot — the three published specs that decide garment sewing.
Sewing knits
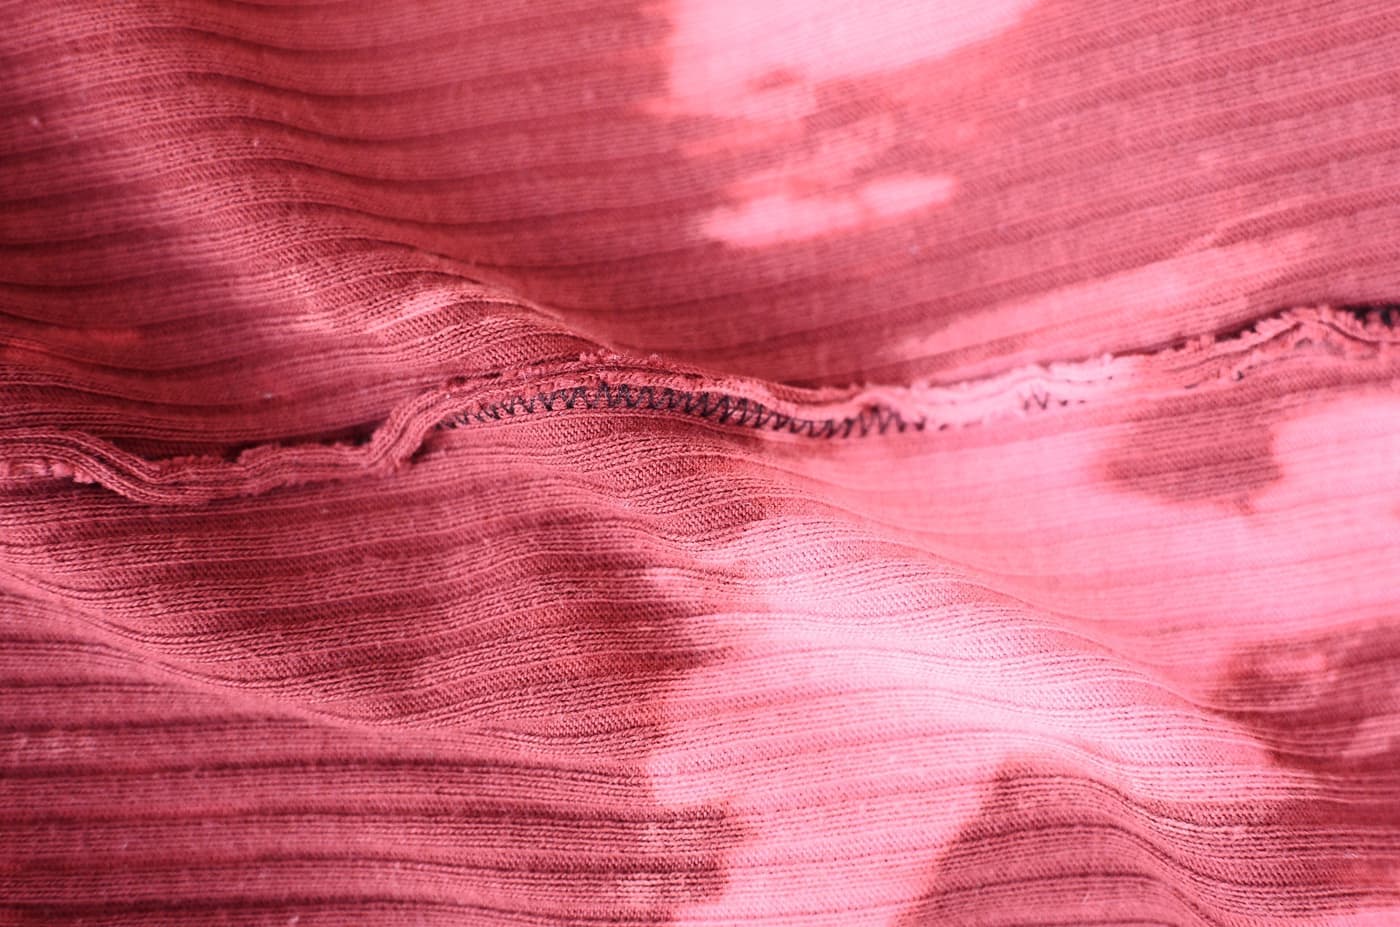
Sewing knit fabrics without a serger
Ball point needle, a stitch with give, and a walking foot — the three fixes for knits on an ordinary machine.
First projects
Four first sewing projects worth making
Four rectangle projects in order, each teaching one skill — and none of them needs a pattern.
Machine vs serger
Sewing machine vs serger: which do you actually need?
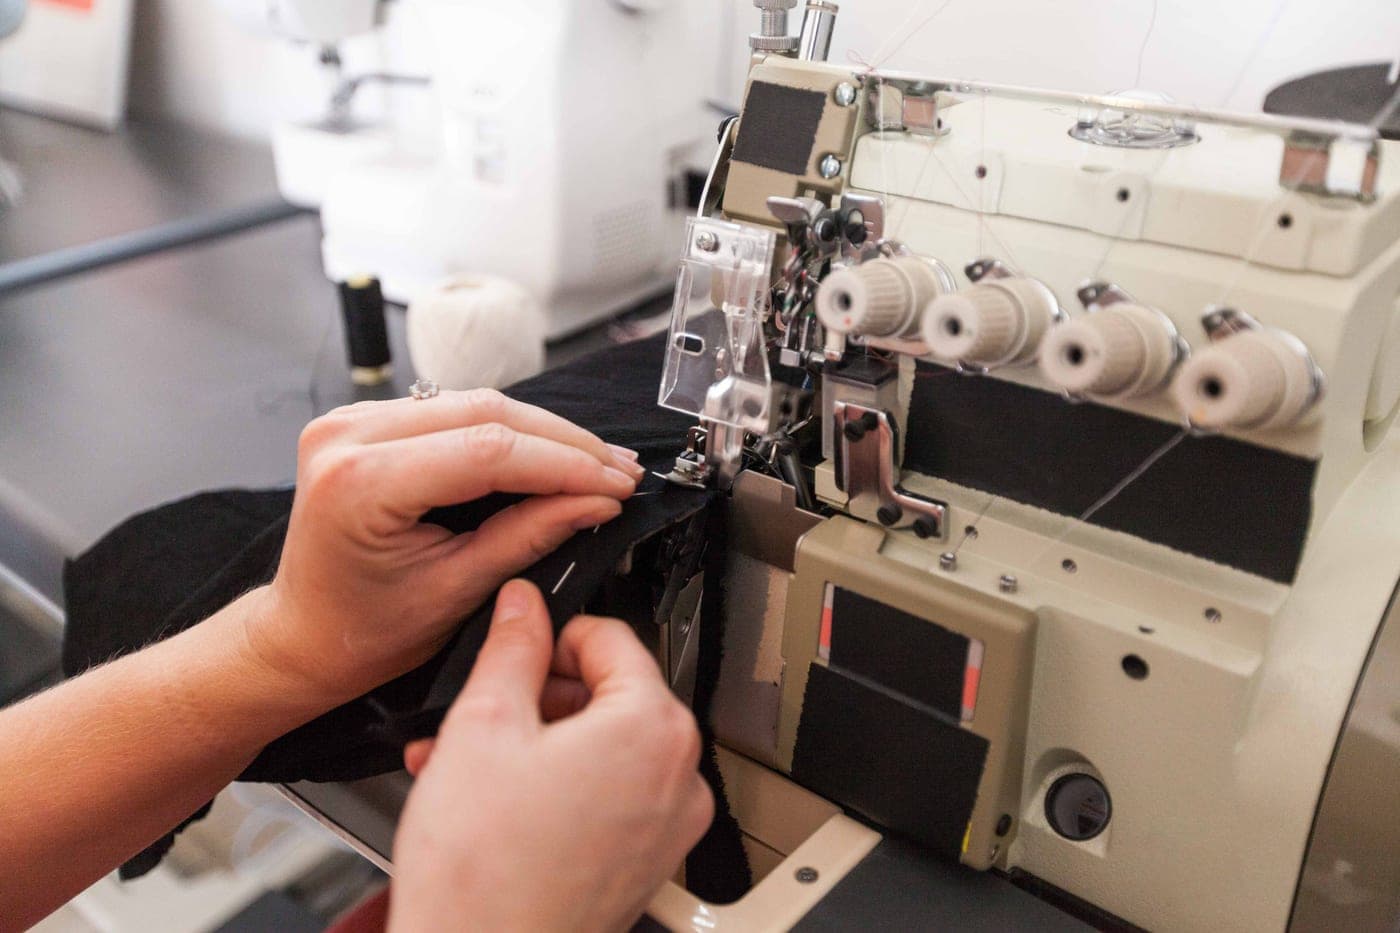
What each machine physically does, and why an overcasting foot on a sewing machine does most of a serger's useful work.