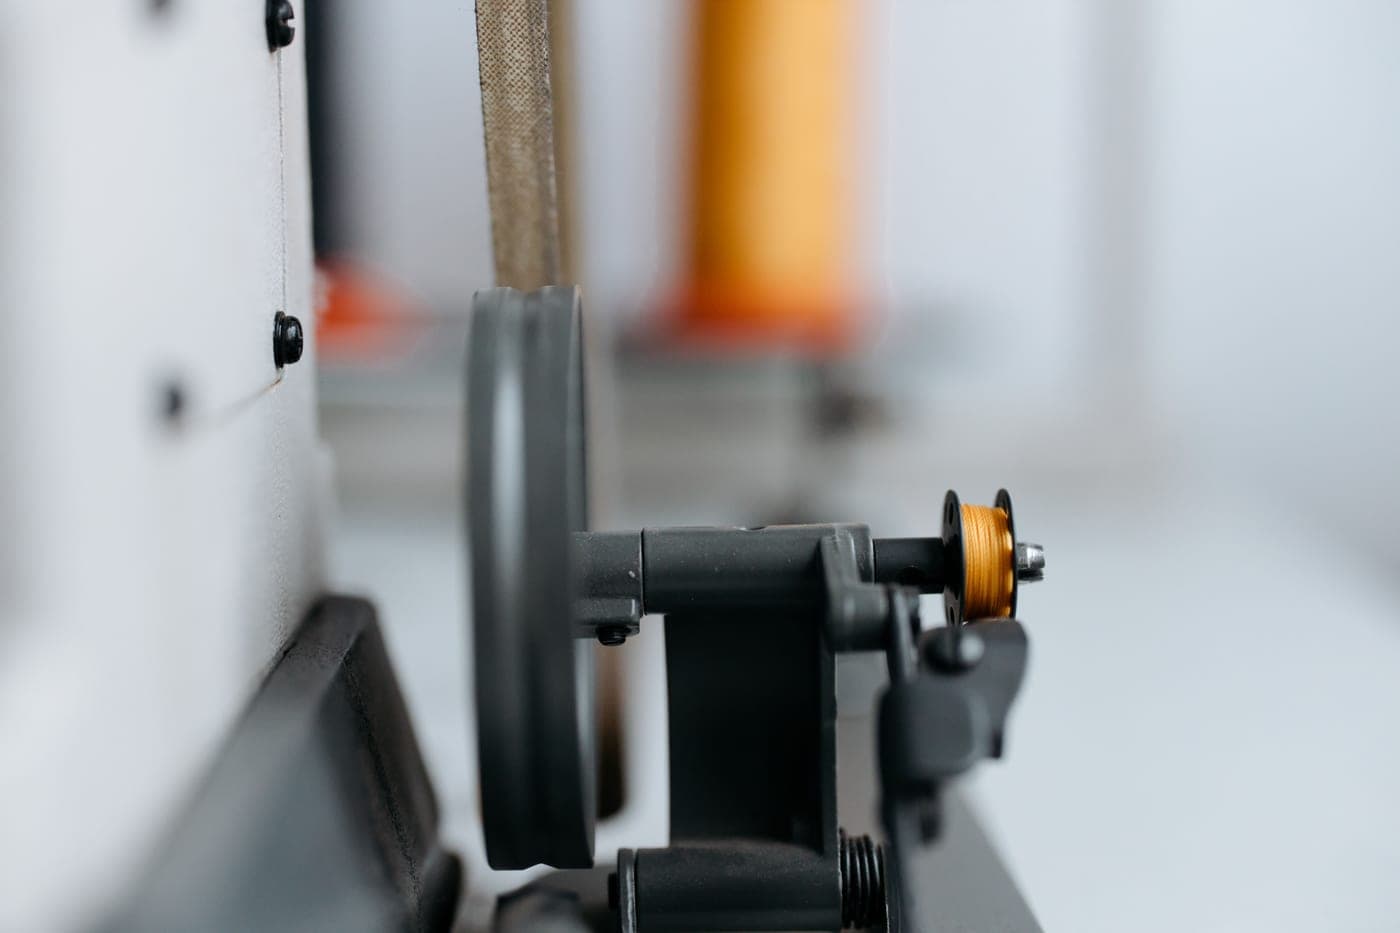
Tension is how hard the machine grips each thread as it feeds. A correct stitch looks identical from both sides, because the two threads lock inside the fabric rather than on either surface. If your stitch is wrong, rethread before you touch the dial — the overwhelming majority of tension symptoms are threading faults, and adjusting the dial to compensate leaves the machine set wrong for the next project.
What tension actually is
Two threads make a stitch. The needle carries the top thread down through the fabric; the hook below catches the loop and passes the bobbin thread through it; then the take-up lever rises and pulls the slack back up. Where those two threads lock is decided by how hard each is being held back.
The top thread is gripped between two metal plates called the tension discs, and the dial on the front of your machine changes how tightly they squeeze. The bobbin thread is gripped by a small flat spring — inside the bobbin case on a front-loading machine, or under the plate on a drop-in.
Balanced tension means both threads are held back equally, so the lock lands in the middle of the fabric where nobody can see it. Whichever thread is held less gets pulled through more, and shows up on the opposite side.
Reading the stitch: the diagnosis
Sew six inches on two layers of scrap in the same fabric as your project, then look at both sides. This tells you almost everything.
How to read a test seam. Use different color threads top and bobbin for the test — it makes the diagnosis obvious.
The rule: rethread before you adjust
This is the single most useful habit in machine sewing and it is worth understanding why it works.
The presser foot lever is mechanically linked to the tension discs. Raising the foot opens the discs; lowering it closes them. If you thread the machine with the presser foot down, the thread lies over the top of two closed plates instead of dropping between them — so it has no tension whatsoever, no matter where the dial is set.
That single mistake produces the loose stitches, the loops underneath and the thread nests that people spend an evening chasing with the tension dial. Turning the dial changes how hard the discs squeeze; if the thread is not between them, it changes nothing about this stitch — and it leaves your machine set wrong for the next project, at which point you have two problems and no memory of the original setting.
What the numbers on the dial mean
Most domestic machines label top tension roughly 0 to 9, with a normal range marked or a default around 4. Higher numbers squeeze harder and hold the top thread back more.
Three practical notes. The default is right most of the time — machines leave the factory balanced for ordinary all-purpose thread on medium woven fabric. Move in small steps, half a number at a time, and test on scrap between each. And write down where the dial started before you move it, because returning to a known-good setting is otherwise guesswork.
When tension genuinely does need adjusting
Correctly threaded machines do sometimes need a real adjustment. These are the legitimate cases.
- Very thick or very thin fabric. More layers need slightly less top tension; fine fabric often needs a little less to avoid puckering.
- Different threads top and bobbin. Thread diameters differ, so the balance shifts. For ordinary sewing use the same thread in both.
- Decorative or topstitching thread. Heavier thread needs less top tension — and often a topstitch needle, whose enlarged groove is the actual fix for shredding.
- Free-motion quilting, where you are moving fabric by hand and the usual feed assumptions do not apply.
The ranking
Quick picks
Ranked against the published criteria below. Tap a row to jump to the full write-up; the price button goes straight to Amazon.
The needle you should already own two packs of
Universal machine needles, 80/12 and 90/14
A slight ball point that sews both knit and woven fabric, which is why it is the only needle a first project actually requires — and the one most people never replace often enough.
SCHMETZ describes the universal needle in seven words: 'General sewing of knit and woven fabrics. Slight ball point.' That slight ball point is the whole design. A perfectly sharp point pierces the yarns of a woven cloth cleanly and cuts through the loops of a knit, causing runs. A full ball point pushes knit loops aside but struggles to pierce a dense woven. The universal splits the difference, badly enough that a specialist needle beats it on any one fabric, and well enough that it is the only needle a first project needs.
Buy sizes 80/12 and 90/14, and understand what the two numbers mean: they are the same measurement in two systems, metric (NM) and imperial (Singer). An 80/12 is 0.8 mm across the blade. Lighter fabric wants a smaller number; heavier fabric wants a bigger one. Quilting cotton and shirting sew happily on an 80/12. Denim-weight woven, canvas and multiple layers want a 90/14.
The mistake almost every beginner makes is not buying the wrong needle, it is keeping the right one too long. A needle blunts from the friction of passing through fabric thousands of times, and a blunt needle is a leading cause of skipped stitches, snagged fabric and thread that keeps breaking — the exact symptoms people diagnose as a broken machine. Change it when you start a significant project, and change it after roughly eight hours of sewing.
SCHMETZ publishes universal needles from 60/8 up to 120/19, plus assorted packs, twin needles and triple needles. An assorted pack is the right first purchase because it lets you find out which size your fabric actually likes without buying five packs.
What works
- Sews knit and woven fabric acceptably, which no other needle type does
- The widest size range SCHMETZ publishes for any home needle — 60/8 through 120/19
- An assorted pack covers a beginner's first year of fabrics for the price of a coffee
- Sold as a twin and a triple needle for hems and decorative topstitching
What does not
- A compromise by design — for a stretchy knit a jersey needle skips fewer stitches, and for heavy denim a denim needle deflects less
- Blunts long before it looks blunt; a needle that has sewn eight hours is due for replacement
- Twin needles are not compatible with every stitch on every machine — check your manual first
Not stopping mid-seam to wind another one
Class 15 transparent bobbins
Both Singer machines on this site take a Class 15 transparent bobbin, and three is not enough — a transparent bobbin also lets you see the thread running out before it does.
Start with the warning, because it is the one that costs people an evening: bobbin class is not universal, and a nearly-right bobbin is worse than no bobbin. A bobbin that is fractionally too tall, too wide or made of the wrong material will sit at a slight angle in the case, feed thread unevenly, and produce exactly the nest of loops underneath your fabric that people diagnose as a broken machine. Singer publishes the bobbin class for both machines on this site as Class 15 transparent, and recommends SINGER or INSPIRA branded bobbins for best results. Your manual states yours.
Assuming you have the right class, the reason to buy more is simple arithmetic. Brother ships three bobbins with the CS7000X, the XM2701 and the LX3817, and four with the XR9550. A single garment in two thread colors plus a basting color uses three. The moment you run out mid-seam you have to unthread the machine, wind a bobbin, and re-thread — and re-threading is where the next problem starts.
Transparent rather than metal, for a beginner, for one reason: you can see how much thread is left. Running the bobbin dry in the middle of a topstitch line is a specific kind of annoying, because the top thread keeps stitching and you do not notice until you turn the work over.
Wind one bobbin per color you use regularly and keep them on a bobbin ring. It is the cheapest quality-of-life improvement in this whole list.
What works
- Transparent, so you can see the thread level without unthreading the machine
- Cheap enough to wind one per thread color and stop re-winding
- Class 15 is the most widely used home bobbin class, so replacements are easy to find
What does not
- Bobbin class is not universal. Check your manual — the wrong class will seat badly and cause bunching, and some machines specify a plastic or a metal bobbin, not both
- Singer explicitly recommends its own or INSPIRA-branded bobbins for best results
- A cheap out-of-spec bobbin is a common cause of the tension problems people blame on their machine
The three things that masquerade as tension problems
Before you accept that tension is the culprit, rule these out — all three are more common and all three are cheaper to fix.
A blunt or wrong needle. A needle blunts after roughly eight hours of sewing and looks identical to a new one. A blunt needle drags thread, snags fabric and skips stitches. The wrong *type* does the same — a sharp needle on knit fabric cuts loops. Changing the needle is free, takes a minute, and resolves more complaints than any dial.
Poor or old thread. Cheap thread is spun from short fibers with an uneven twist, so its diameter varies along its length — which means the tension the discs apply varies too, producing uneven stitches that look exactly like a tension fault. It also sheds lint into the discs, which changes their grip over time. Hold a length up to the light; if you see a halo of fuzz, that is your problem. More on thread.
The wrong bobbin. A bobbin of the wrong class, or made of the wrong material, sits at a slight angle and feeds unevenly. Singer publishes Class 15 transparent for both machines we cover and recommends SINGER or INSPIRA-branded bobbins for best results. Your manual states yours. A loosely wound bobbin does the same thing — wind it properly.
The bobbin case screw: leave it alone
Front-loading machines have a small screw on the side of the bobbin case that adjusts bobbin tension directly. It is tempting, because when the top thread looks loose, tightening the bobbin seems like it would rebalance things.
Do not. It is a fine adjustment with no markings and no detents, it is very difficult to return to its factory position by feel, and the problem it appears to solve is nearly always a top-thread threading fault. If you have already turned it and lost the setting, the test is: hold the loaded case by its thread — it should hang without unwinding, and drop slowly with a small jerk of your hand.
Drop-in machines mostly do not expose a user-adjustable bobbin tension at all, which for a beginner is a feature rather than a limitation. The two systems compared.
A five-minute reset when nothing makes sense
- Set the top tension dial back to the marked default (usually 4).
- Unthread the machine completely, top and bobbin.
- Fit a new needle, correct type for your fabric, flat side of the shank to the back, pushed all the way up.
- Brush the lint out of the bobbin area with the machine's own brush — never blow into it.
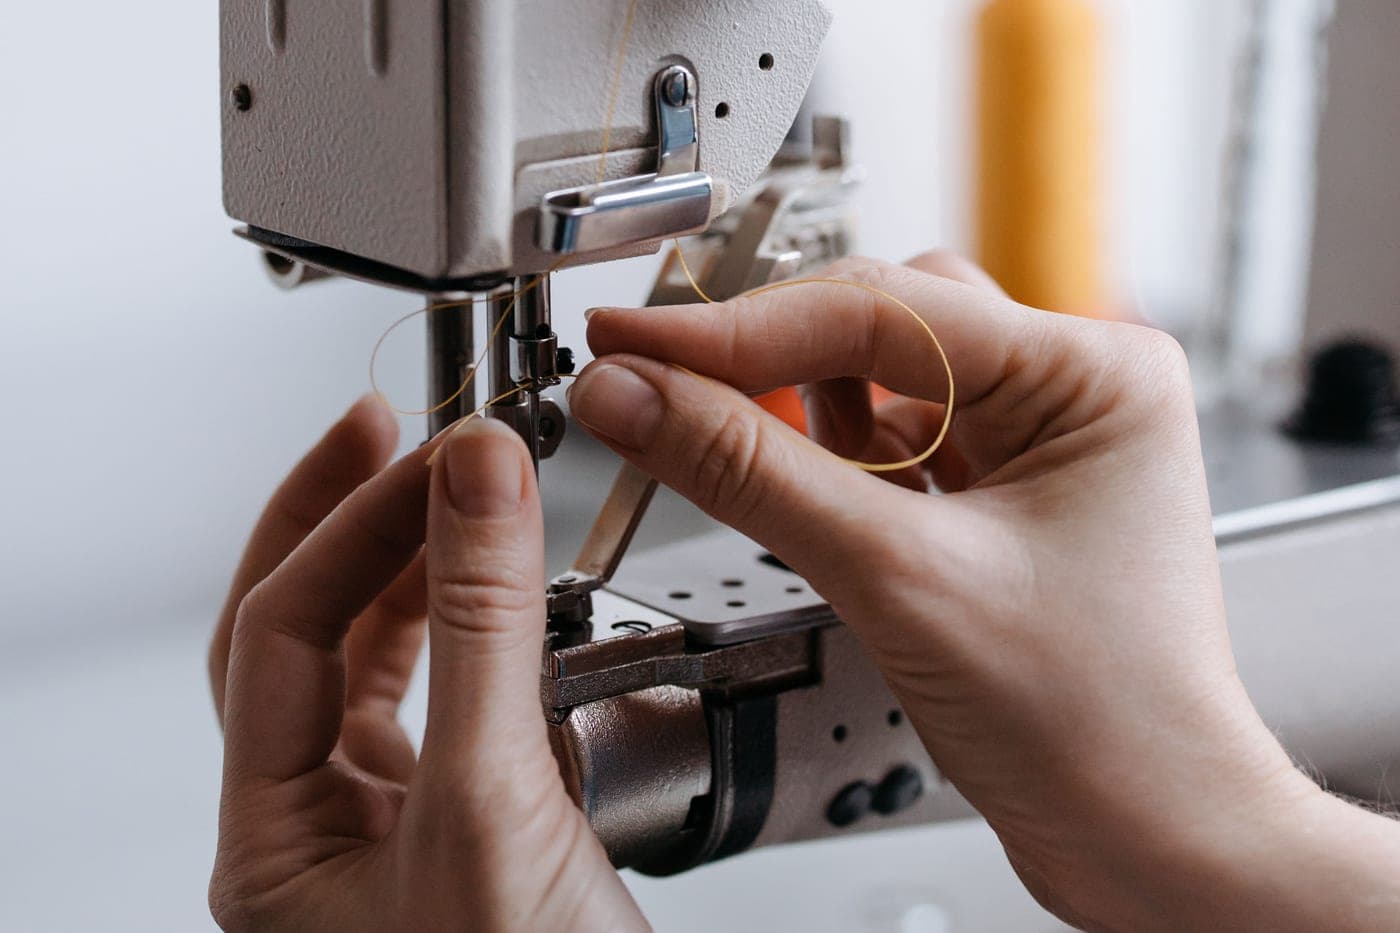
- Rethread the top with the presser foot up and the needle at its highest point.
- Wind and load a fresh bobbin, checking it seats correctly.
- Test on two layers of scrap with contrasting thread colors, and read both sides.
If a correctly threaded machine with a new needle and a correctly wound bobbin still will not make a balanced stitch on scrap, that is the point at which the machine genuinely needs a service rather than another adjustment. The general troubleshooting sequence covers what else to rule out first.
Answers
Questions people ask
What should my sewing machine tension be set to?
How do I know if my tension is too tight or too loose?
Why does my thread loop underneath the fabric?
Should I adjust the bobbin tension screw?
Can a bad needle cause tension problems?
Where this came from
Sources
About the author
Scooter M.
An enthusiast who is genuinely into this. I read the manuals, compile the published specs, and do the arithmetic. No lab coat, no test bench, and no machines I am pretending to have used — which is exactly why every claim here carries a source.
Published by Slate Mill Group. Published September 6, 2026; last updated September 6, 2026. Editorial policy.
Keep reading
Read next
The bunching fix
Bobbin thread bunching up underneath
The nest of loops underneath is a top-thread fault. Four checks, in order, and the fix is free.
Threading
How to thread a sewing machine
The threading order, and the two steps beginners skip that cause almost every tension problem.
Thread
Thread for beginners
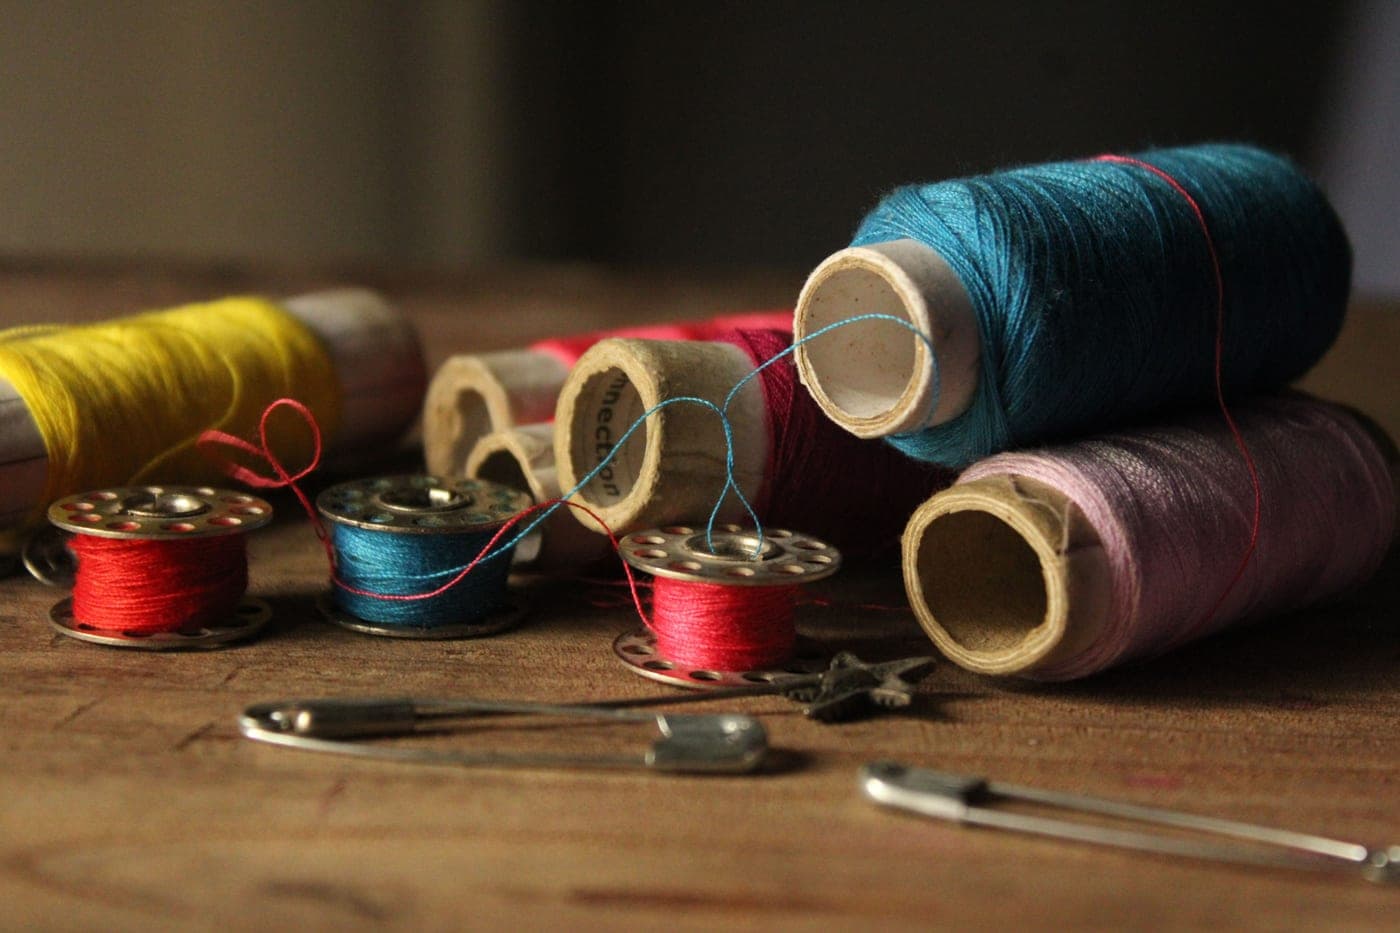
Buy all-purpose polyester in three colors, understand why cheap thread shreds, and match thread weight to needle groove.
Troubleshooting
Sewing machine problems and how to fix them
Five faults, their real causes, and the sequence to check in — starting with the two that fix most of them.