Stitch & Selvage earns a commission when you buy through the links on this page, at no extra cost to you. It does not change what we recommend, and we publish a skip-this verdict on products we could otherwise earn from. Full disclosure.
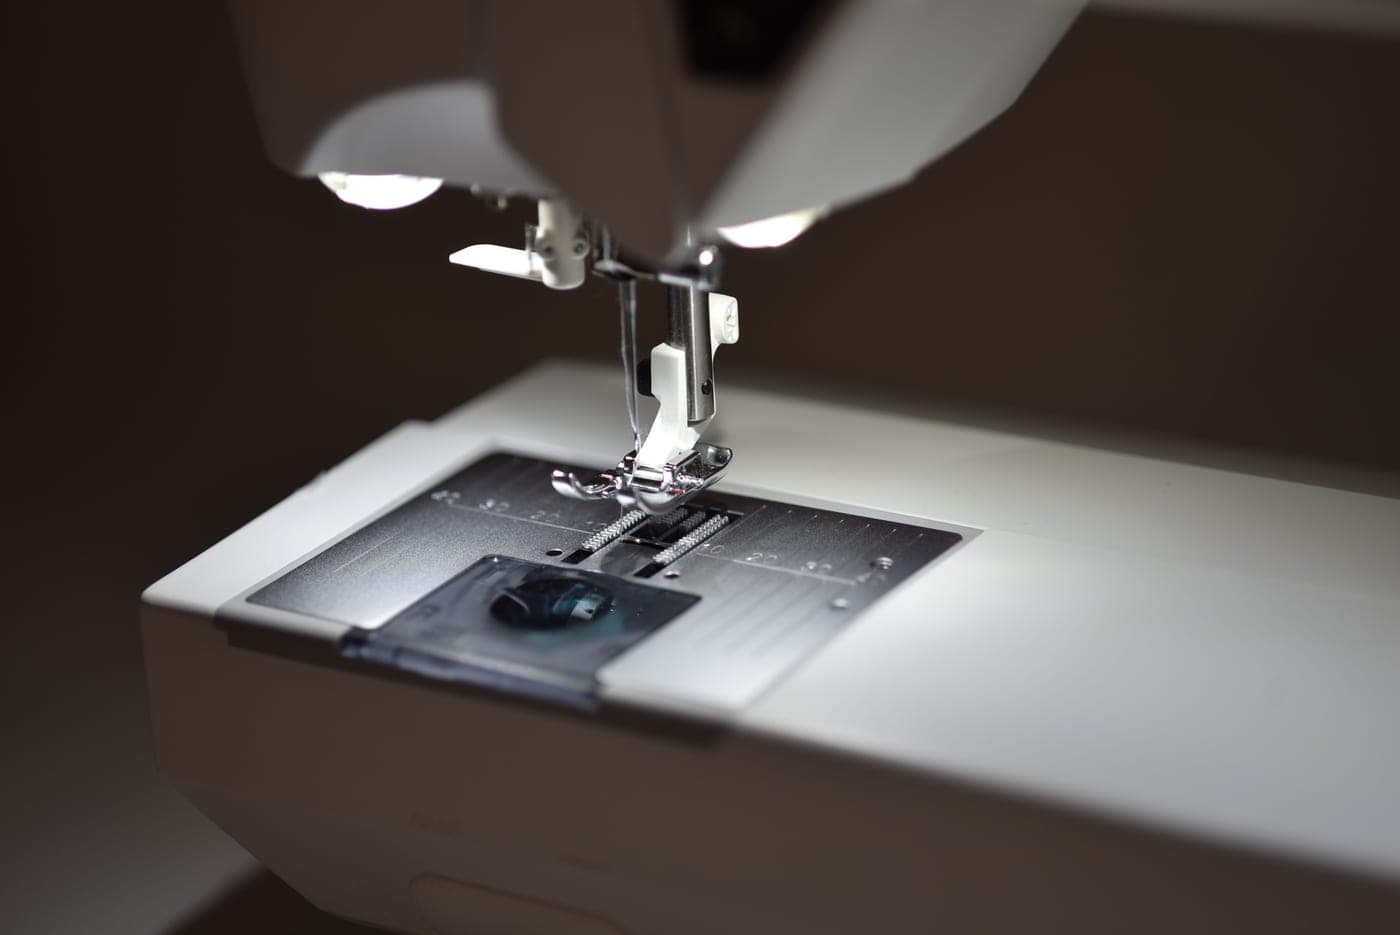
A presser foot holds fabric against the feed dogs so they can move it. Beyond that, each foot is shaped to solve one specific problem — getting close to a zip, wrapping thread round a raw edge, feeding a top layer, or guiding a fold. Your machine came with between three and ten of them depending on the model.
Shank type: check this before buying any foot
Presser feet attach to a shank, and shanks come in low and high versions. Most domestic machines are low-shank, but not all, and a foot for the wrong shank sits at the wrong height — which changes how hard the fabric is pressed onto the feed dogs and therefore changes the stitch.
Your manual states which yours is. Almost all beginner machines use snap-on feet: a small lever behind the shank releases the foot and the new one clicks into place. SINGER lists snap-on presser feet as a feature of the M1500.
The feet your machine came with
Included presser feet as published by Brother USA and SINGER, 1 September 2026.
What each one actually does
Zigzag / all-purpose foot. The one that is on the machine. A wide slot in the sole lets the needle swing left and right, so it handles straight stitch and zigzag alike. Everything below is a specialist alternative to this.
Zipper foot. Narrow, with the needle position at one edge rather than in the middle, so you can sew right up against the zip teeth — which a normal foot physically cannot do because the teeth sit under it. Every machine we cover includes one.
Buttonhole foot. Has a sliding carrier at the back that you drop the button into. On a one-step machine the foot measures the button and the machine sews a buttonhole to fit. On a four-step machine the foot holds the fabric while you turn the dial through the sequence.
Button sewing foot. Holds a button flat while a zigzag stitch goes back and forth between the holes. Used with the feed dogs dropped or a darning plate fitted, so the fabric does not move.
Overcasting foot. Has a small bar or pin at the fabric edge that the thread wraps around as the needle zigzags, so the stitch encloses the raw edge instead of pulling it into a curl. This is the closest an ordinary machine gets to a serged finish, and it is why you do not need a serger to make clothes that last.
Blind stitch / blind hem foot. Has an adjustable guide that rides against a fold. The blind hem stitch takes several stitches along the fold then makes one sideways stitch that catches a thread or two of the outer fabric, so the hem is almost invisible from the right side.
Non-stick (Teflon) foot. A slick sole that lets leather, vinyl and coated fabric pass instead of gripping the way they do under bare metal. Singer includes one with the Heavy Duty 4452; our leather roundup covers why it is the accessory that decides whether leather feeds at all.
Narrow hemmer foot. A curled scroll in the sole that rolls a tiny double hem as the fabric feeds. It takes practice to start it and it produces a fine rolled hem on light fabric far faster than pressing and folding by hand.
Monogramming / satin stitch foot. Has a channel carved into the underside so the raised, closely spaced stitches of a satin stitch or a decorative pattern can pass beneath without being crushed flat.
Quilting / darning / free-motion foot. Small and round, and it hops up and down with the needle rather than pressing constantly. With the feed dogs dropped, you move the fabric yourself in any direction. This is the foot for stippling and free-motion quilting. Brother lists a spring-action quilting foot with the XR9550 and a quilting foot with the CS7000X.
Quarter-inch foot. An edge or flange exactly a quarter inch from the needle, for quilt piecing. Brother includes one with the CS7000X only.
Walking foot. A second set of feed dogs in the foot itself, driven off the needle bar, so the top layer advances in time with the bottom one. Full explanation. Brother includes one with the CS7000X only.
The ranking
Quick picks
Ranked against the published criteria below. Tap a row to jump to the full write-up; the price button goes straight to Amazon.
| # | Product | Best for | Score | Price |
|---|---|---|---|---|
| 1 | No photo Walking foot (even feed foot) Quilts, knits and anything with layers that shift | The one foot worth buying first | 7.7/10 | Check price on Amazon #ad affiliate link · no live price for this item |
| 2 | No photo Quarter-inch (piecing) foot Quilt blocks that come out the right size | The accuracy foot | 7.5/10 | Check price on Amazon #ad affiliate link · no live price for this item |
| 3 | 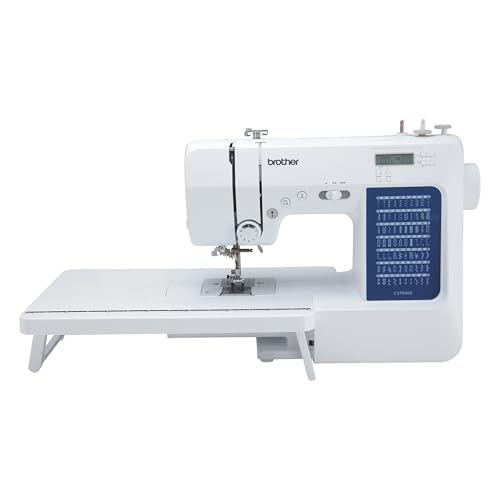 Brother CS7000X Computerized Sewing & Quilting Machine The first machine most beginners should buy | 70 built-in stitches | 9.2/10 | |
| 4 | No photo The 100-piece bargain sewing accessory kit Nothing we can recommend Our skip-this pick | Our skip-this pick | 2.8/10 | Check price on Amazon #ad affiliate link · no live price for this item |
Quilts, knits and anything with layers that shift
Walking foot (even feed foot)
Feeds the top layer at the same rate the feed dogs move the bottom one — the single accessory that turns a rippling quilt sandwich into a flat one.
Every sewing machine has feed dogs — the little serrated bars that rise through the needle plate and pull the fabric backwards a stitch at a time. They only touch the bottom layer. When you sew two layers together, the bottom one is being actively pulled and the top one is being dragged along by friction, so the top layer travels a fraction less far on every stitch. Over a two-foot seam that fraction adds up to an inch, and that inch is why the ends do not line up.
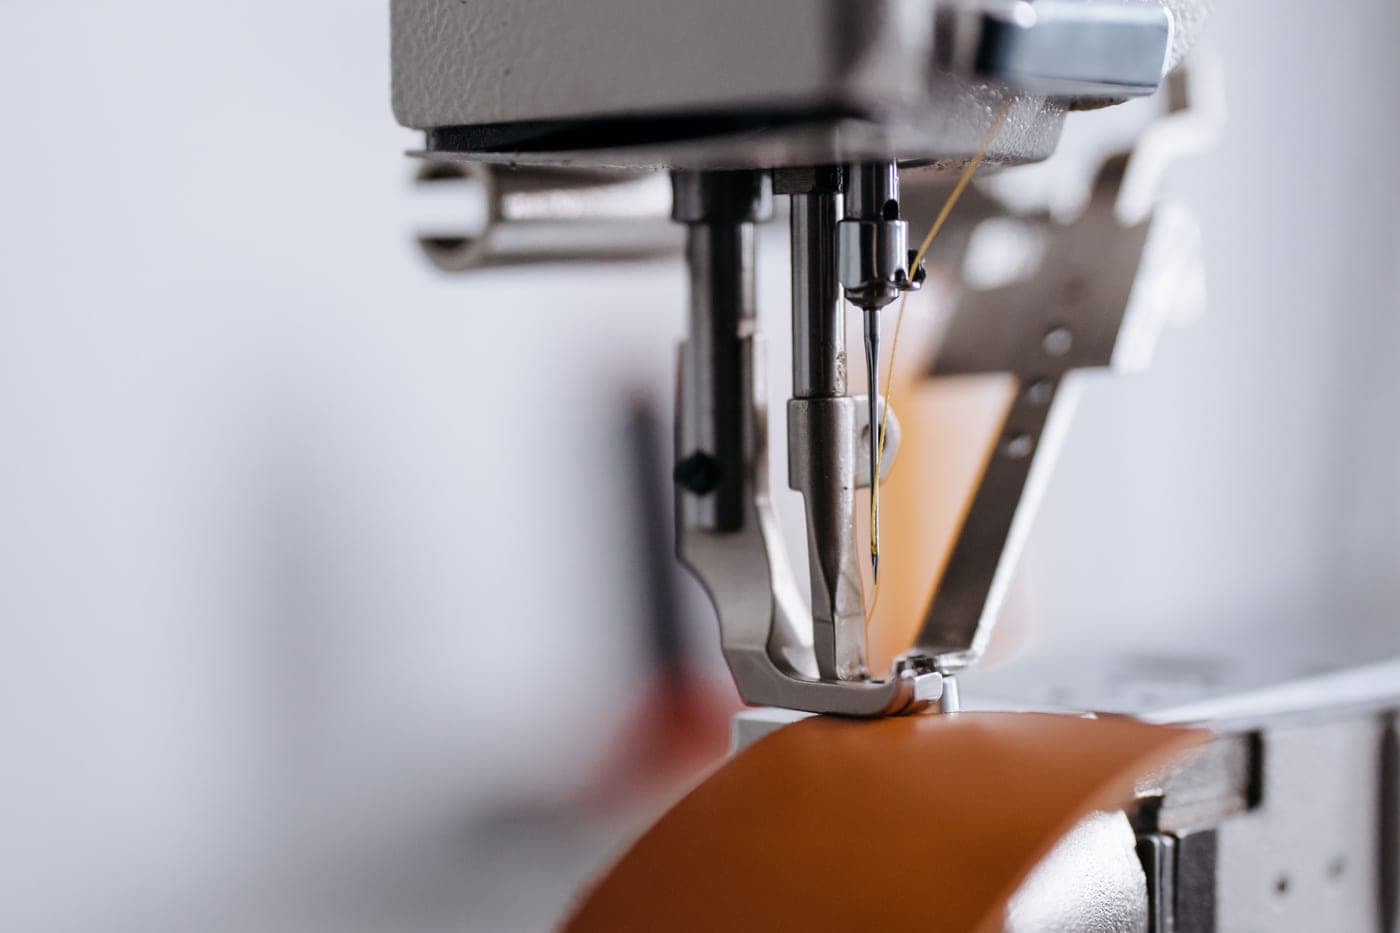
A walking foot is a second set of feed dogs mounted in the presser foot, driven off the needle bar so they move in time with the ones underneath. Both layers get gripped and both travel the same distance. That is the entire idea, and it is why it fixes quilt sandwiches, wavy knit hems and plaids that refuse to match.
Where it matters most is quilting, because a quilt is three layers with a compressible one in the middle. Without a walking foot, batting compresses unevenly under the foot and squirts forward, and you finish a quilting line with a fold pushed up ahead of the needle.
Two buying notes. First, shank type: home machines are mostly low-shank, but not all, and a walking foot for the wrong shank will not sit at the right height. Your manual says which yours is. Second, this is the one accessory where the machine manufacturer's own version is usually worth the premium — a walking foot has moving parts, and a cheap one develops play that shows up as an uneven stitch.
Brother includes a walking foot with the CS7000X. It does not include one with the XM2701, the LX3817 or the XR9550, and Singer does not list one with the M1500 or the Heavy Duty 4423. If you are comparing prices between machines, this is the accessory that changes the arithmetic.
What works
- Solves the layer-shift problem mechanically, which no amount of pinning fully does
- Also the best fix for wavy hems on knit fabric
- Makes plaids and stripes match across a seam instead of drifting
- The Brother CS7000X includes one, which is a large part of why it is our top pick
What does not
- The most expensive common presser foot, and the one most often bought in the wrong shank type
- Bulky, noisy and slow — it is not a foot to leave on for ordinary seams
- Generic 'universal' walking feet vary in quality; the machine maker's own is the safer buy
Quilt blocks that come out the right size
Quarter-inch (piecing) foot
Quilting is built on a quarter-inch seam allowance, and this foot makes it a physical edge to follow instead of a line you are trying to eyeball.
Almost every quilting pattern ever written assumes a quarter-inch seam allowance. That is not a style choice, it is a unit: block sizes, sashing widths and final quilt dimensions are all calculated from it. Sew at five-sixteenths instead and every block finishes small, and the error compounds with every seam.
A quarter-inch foot solves it by geometry. The foot is manufactured so that its right-hand edge, or a small metal flange on it, sits exactly a quarter inch from the needle. You align the raw edge of the fabric with that edge and stop thinking about it. Accuracy becomes a matter of feeding straight rather than of judging distance.
There is a free alternative on some machines. Brother lists a needle position key on the XR9550: instead of moving the guide to the needle, you move the needle relative to the standard foot edge, then measure once and note the setting. It takes five minutes to calibrate and costs nothing. Machines without that key — the XM2701, the LX3817, the M1500 — need the foot.
Brother includes a 1/4 in foot with the CS7000X. None of the other machines on this site includes one. If quilting is why you are buying a machine, that is worth about the price of two feet in the comparison.
What works
- Turns an accuracy problem into a mechanical one — you follow an edge instead of watching a mark
- Errors in piecing compound: a sixteenth of an inch out over twelve seams is three-quarters of an inch of finished block
- Cheap, small, and it is the foot quilting patterns assume you own
What does not
- Useless outside quilting and precise piecing
- Versions with a metal flange can catch on thick seam allowances
- If your machine has a needle position key you can achieve the same result without buying anything
The first machine most beginners should buy
Brother CS7000X Computerized Sewing & Quilting Machine
The only machine on this page that arrives with the two feet a beginner ends up buying anyway — a walking foot and a quarter-inch foot — plus an automatic needle threader and a drop-in bobbin, so the two jobs that make people quit are the two jobs it makes easy.
The CS7000X is the machine we point a first-time buyer at, and the reason has nothing to do with its stitch count. It is the presser feet. Brother lists ten of them in the box — zigzag, buttonhole, zipper, button sewing, overcasting, blind stitch, monogramming, quarter-inch, quilting and walking — plus a quilt guide. Two of those, the walking foot and the quarter-inch foot, are the exact accessories a beginner ends up ordering three months in, and they are not cheap bought separately.
The second reason is the threading. Brother's published specification lists an automatic needle threading system and a quick-set drop-in top bobbin. Threading the needle and setting the bobbin are the two jobs that make people put a machine back in its box, and this one turns both into a lever pull and a drop. On a front-loading machine you are removing a case, seating a bobbin in a particular orientation, and hoping.
It is a computerized machine, which means stitch selection is a mode key and a shift key against an LCD rather than a dial. That is a genuine trade-off, not a straight upgrade: a dial is legible at a glance and has nothing to fail, while an LCD tells you the stitch width and length the machine has actually selected. For someone learning, seeing the numbers is worth more than the simplicity of a dial.
The extras matter more than they sound. The detachable wide table turns a small free-arm machine into something you can push a quilt across, and the hard protective cover is the difference between a machine that stays out on a table and one that lives in a cupboard collecting dust. Brother also publishes a 25-year limited warranty and free phone and online technical support for the life of the product.
We have not sewn on this machine. Everything above is from Brother's own specification page, and the price on the button is live from Amazon rather than anything we typed. What we can tell you is what the box contains and what that saves you buying — which, for a first machine, is most of the decision.
What works
- Automatic needle threader and a drop-in bobbin — the two setup jobs that defeat most beginners
- Ten presser feet including the walking foot and a quilting foot, which the cheaper machines make you buy separately
- Detachable wide table and a hard cover are in the box, not extras
- Adjustable sewing speed control, so a first seam can be run slowly
- Brother publishes a 25-year limited warranty on it
What does not
- Seventy stitches is far more than a beginner will use; you are paying for decorative stitches you may never touch
- Computerized machines have more to go wrong electronically than a dial-and-lever mechanical
- At 10.5 lb it is light enough to walk across a table at speed unless it is on a firm surface
The kit it pairs with: It already includes the walking foot and quilting foot, so its starter kit is short: needles, bobbins, thread, shears and pins.
Nothing we can recommend
The 100-piece bargain sewing accessory kit
Most of what is in a mega-kit is already in the box your machine came in, and the parts that are not are the parts that need to fit your specific machine.
Skip this one
This is our skip-this pick, and it is a skip on every page it appears. Read the carton contents Brother and Singer publish for your machine before you buy an accessory kit: both makers already include needles, bobbins, a seam ripper, a screwdriver, a cleaning brush and spool pins. What a mega-kit adds on top is mostly duplicates plus parts whose fit depends on your machine's bobbin class and presser foot shank, neither of which a generic kit can guarantee. Buy the specific things your machine did not come with instead.
Every roundup on this site carries one pick we tell you not to buy. This is it, and it is here because it is the most commonly bought wrong thing in the category — the reflex purchase a new owner makes on the same order as the machine.
Start with what is already in your box, because the manufacturers publish it. Brother lists the CS7000X carton as containing ten sewing feet, a quilt guide, an accessory pouch with a needle set, a ball point needle, a twin needle, a spool pin, three bobbins, a cleaning brush, a seam ripper, a screwdriver, an eyelet punch, an L driver, the operation manual, a hard protective cover and a wide table. The XM2701 ships with a darning plate, an accessory bag with a needle pack, a twin needle, a screwdriver, an extra spool pin, three bobbins and the power cord. Singer lists the M1500's included accessories as an all-purpose foot, a zipper foot, a buttonhole foot, a darning plate, a pack of needles, Class 15 bobbins, a needle plate, a screwdriver, spool pin felt and a seam ripper / lint brush.
Now compare that to a 100-piece kit's contents list. Needles, bobbins, a seam ripper, a screwdriver, a brush, spool pins, a threader, a tape measure. You own all of it. What you are paying for is duplicates, and duplicates of the cheapest items in the category.
Worse, the two categories where a generic kit could add value are the two where fit is not guaranteed. Bobbins have a class — Singer specifies Class 15 transparent for both of its machines here and recommends its own or INSPIRA-branded bobbins for best results. A bobbin of the wrong class or the wrong material seats badly and produces the loops-under-the-fabric problem that sends people looking for a repair shop. Presser feet have a shank type, low or high, and a foot for the wrong shank sits at the wrong height.
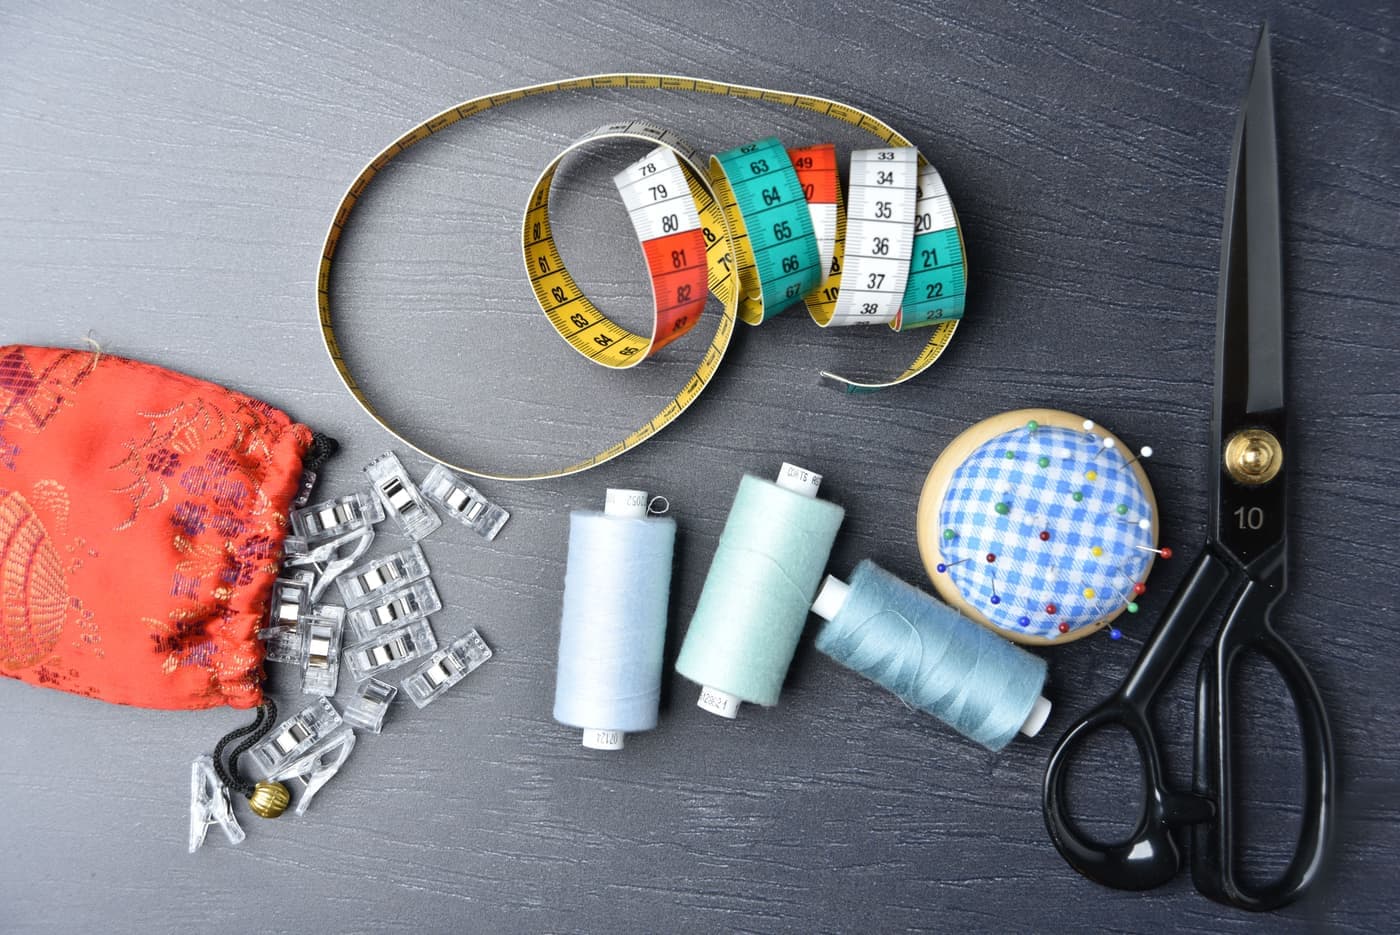
The genuinely useful spend, for the same money or less, is short and specific: a walking foot if you will quilt, a quarter-inch foot if you will piece, a second pack of universal needles, a handful of the correct bobbins for your machine, and a cover if your machine did not come with one. That is what our starter-kit roundup is made of, and there is a reason none of it comes in a hundred-piece bag.
What works
- Genuinely cheap per item, if the items happened to fit
- The one honest use: a spare set for a second machine you already know the fit of
What does not
- You already own most of it. Brother and Singer both ship needles, bobbins, a seam ripper, a screwdriver and a brush in the carton
- Bobbins in a generic kit may not be your machine's class, and an out-of-spec bobbin causes exactly the thread-bunching people blame the machine for
- Presser feet in a generic kit may be the wrong shank type
- The two feet worth owning — a walking foot and a quarter-inch foot — are almost never the ones included
- Buying it delays buying the things that would actually help
Which to buy if yours did not include them
Two, in this order, and only if your projects need them.
A walking foot, if you quilt or sew knits. It is the most expensive common presser foot and the one that solves a problem no technique can. Match the shank type.
A quarter-inch foot, if you piece quilts and your machine has no needle position key. The XR9550 has that key, which makes the foot unnecessary; the XM2701, LX3817 and M1500 do not.
What not to buy is a bargain multi-foot set. The shank type may be wrong, the quality varies, and the feet included are almost never these two — which is why it is our skip-this pick.
Changing a foot
- Raise the needle to its highest point and raise the presser foot lever.
- Press the small lever or button behind the shank; the foot drops off.
- Position the new foot under the shank so the pin on the foot lines up with the groove in the shank.
- Lower the presser foot lever — the shank picks the foot up and it clicks into place.
If it will not click, the needle is probably not at its highest point.
Answers
Questions people ask
What presser feet do I actually need?
How do I know if my machine is low-shank or high-shank?
What is the difference between a walking foot and a quilting foot?
Are universal presser feet any good?
How do I change a presser foot?
Where this came from
Sources
- Brother USA — CS7000X included accessory feet (checked 1 September 2026)
- Brother USA — XR9550 included accessory feet (checked 1 September 2026)
- Brother USA — XM2701 included accessory feet (checked 1 September 2026)
- Brother USA — LX3817 included accessory feet (checked 1 September 2026)
- SINGER — M1500 included accessories and snap-on presser feet (checked 1 September 2026)
About the author
Scooter M.
An enthusiast who is genuinely into this. I read the manuals, compile the published specs, and do the arithmetic. No lab coat, no test bench, and no machines I am pretending to have used — which is exactly why every claim here carries a source.
Published by Slate Mill Group. Published September 1, 2026; last updated September 1, 2026. Editorial policy.
Keep reading
Read next
Walking foot
What a walking foot actually does
The one-sentence explanation, the four jobs it fixes, and which machines include one in the box.
Best starter kit
The sewing machine starter kit, built from what your machine did not include
Built backwards from the carton contents the manufacturers publish, so you buy the gaps rather than duplicates.
Our top first machine
Brother CS7000X review: you are buying the presser feet, not the stitches
Ten presser feet, an automatic threader and a drop-in bobbin — the machine we point most first-time buyers at.
Garment sewing
Learning to sew your own clothes
The order to learn in, the four forgiving first garments, and the machine features garment sewing actually needs.