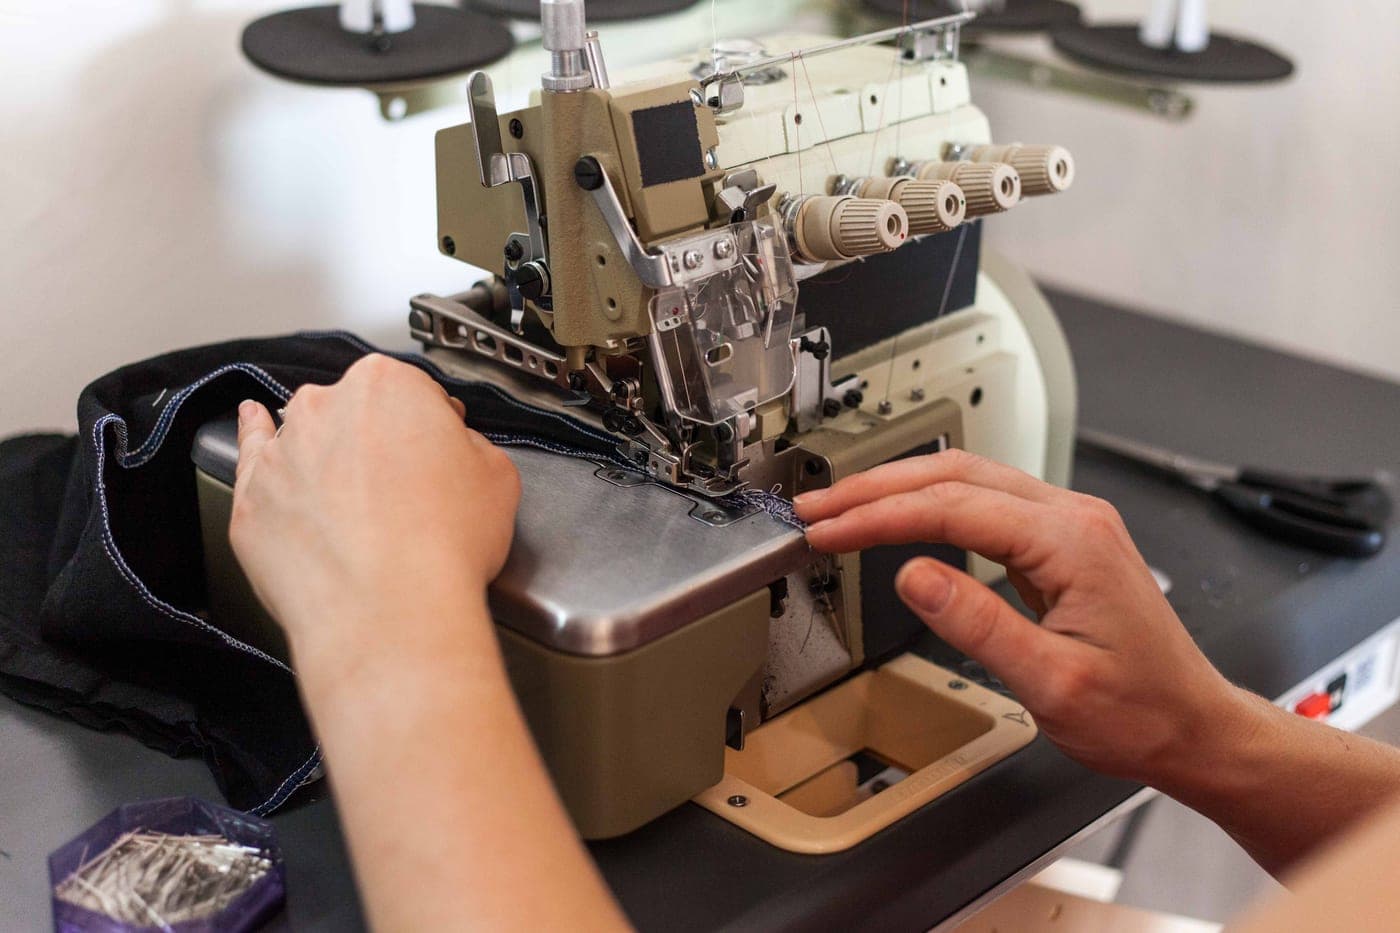
Stitch & Selvage earns a commission when you buy through the links on this page, at no extra cost to you. It does not change what we recommend, and we publish a skip-this verdict on products we could otherwise earn from. Full disclosure.
Wear the trousers with the shoes you will wear them with, fold the excess up to the length you want, and pin. Measure that fold, take them off, press the fold, then fold the raw edge under by half an inch inside it. Sew close to the inner fold using your machine's free arm so you are not sewing the leg shut.
Measuring, which is where hems go wrong
- Put the trousers on with the shoes you will actually wear with them. Heel height changes the finished length by an inch or more, and a hem measured in bare feet will be wrong.
- Fold the excess up on the outside and pin at the front, the side and the back of one leg. Check in a mirror — the front of a trouser hem usually sits slightly lower than the back.
- Take them off and measure the depth of that fold at each pin. If it varies, average it.
- Turn the trousers inside out and mark the fold line all the way round with chalk or a pin, using your measurement from the existing hem edge.
The ordinary hem
- Cut off the excess, leaving about 1.5 inches below your marked fold line.
- Fold the raw edge under by half an inch and press.
- Fold again at the marked line and press firmly. You now have a double fold with the raw edge enclosed.
- Pin around the leg, and check the hem depth is even the whole way — this is your last chance.
- Slide the leg onto the machine's free arm. Every machine we cover has one: on the SINGER M1500 you slide off the removable storage compartment to expose it.
- Sew close to the inner folded edge, going all the way round and overlapping your start by an inch. Backstitch to lock it.
For a hem that does not show from the outside, use a blind hem stitch and a blind hem foot. Brother lists a blind stitch foot with the CS7000X, the XM2701 and the XR9550; the LX3817 does not include one. The stitch takes several stitches along the fold then makes one small sideways stitch that catches a thread or two of the outer fabric.
The ranking
Quick picks
Ranked against the published criteria below. Tap a row to jump to the full write-up; the price button goes straight to Amazon.
| # | Product | Best for | Score | Price |
|---|---|---|---|---|
| 1 |  Denim / jeans needles, 90/14 and 100/16 Hemming jeans and anything thick | Sizes 70/10 to 110/18 | 7.5/10 | $20.91 on Amazon #ad affiliate link · price as of October 17, 2026 |
| 2 |  SINGER Heavy Duty 4423 Sewing Machine Denim, canvas and thick seams | 23 built-in stitches, 1,100 stitches per minute | 6.8/10 | $239.99 on Amazon #ad affiliate link · price as of October 17, 2026 |
| 3 |  Universal machine needles, 80/12 and 90/14 The needle you should already own two packs of | Sizes 60/8 to 120/19 | 9.3/10 | $19.95 on Amazon #ad affiliate link · price as of October 17, 2026 |
Hemming jeans and anything thick
Denim / jeans needles, 90/14 and 100/16
A reinforced blade and a medium ball point built to go through layers without deflecting — the needle that turns 'my machine cannot hem jeans' into a job it can do.
Hemming jeans is the single most common reason someone buys a first sewing machine, and it is the job most likely to end with a broken needle. The reason is deflection. SCHMETZ's own description of the denim needle names it directly: the needle is built 'for penetrating extra thick woven fabrics, denims, or quilts with minimum needle deflection, reduced risk of needle breakage and skipped stitches.'
Here is what deflection means in practice. A standard needle blade is thin enough to flex. Drive it into six layers of denim at the seam and it bends a fraction of a millimeter sideways. That is enough to make it miss the bobbin hook — a skipped stitch — or to hit the edge of the needle plate hole, which snaps it. A denim needle has a thicker, stiffer blade so it goes where it was pointed.
The point geometry is the other half. SCHMETZ specifies a medium ball point, not a sharp one, which sounds backwards for a tough fabric and is not: denim is a tight weave, and a medium ball point slides between the warp and weft yarns rather than cutting them, which is less damaging to the cloth and less likely to blunt the needle.
Buy 100/16 for jeans hems and 90/14 for heavy cotton, canvas and multi-layer quilting seams. SCHMETZ publishes the range from 70/10 to 110/18 plus a twin denim needle — that twin is what produces the two parallel gold topstitch lines a factory jeans hem has, in one pass.
What works
- The reinforced blade is the point: a universal needle bends in thick layers, and a bent needle hits the plate and breaks
- SCHMETZ lists it for quilts as well as denim — multiple layers are multiple layers
- Sold as a twin needle, which is how you sew the double topstitch line a jeans hem has
- An advanced point design SCHMETZ describes as exclusive to it
What does not
- Overkill and slightly damaging on light fabric — a 100/16 leaves visible holes in shirting
- A needle alone will not hem jeans if your machine cannot feed the bulk; presser foot pressure and a hump-jumper matter too
- The heaviest sizes are more than most beginner machines are rated to drive comfortably
Denim, canvas and thick seams
SINGER Heavy Duty 4423 Sewing Machine
A metal internal frame, a stainless steel bed plate and 1,100 stitches a minute — bought for fabric weight, not for beginner features, and priced above machines that are easier to learn on.
The Heavy Duty 4423 is the machine people buy when the last one could not get through what they wanted to sew. Singer's specification is unusually concrete about why it can: a heavy-duty metal interior frame, a stainless steel bed plate, a motor Singer states is 60% stronger than a standard sewing machine motor, and a top speed of 1,100 stitches per minute.
The specification that matters most for thick fabric is the least glamorous one: adjustable presser foot pressure. When you sew eight layers of denim, the problem is not that the needle cannot pierce it — a 100/16 denim needle will — it is that the feed dogs cannot drag it. Increasing presser foot pressure presses the fabric onto the feed dogs so they can grip. Most beginner machines do not offer that adjustment at all; Brother lists it as 'No' on the CS7000X, the XM2701 and the LX3817.
As a first machine it is a compromise, and we would rather say so. Twenty-three stitches for a list price of $229.99 is less stitch library than Brother's CS7000X at $279.99, and 14.6 lb is a machine that stays on the table. The speed is the part that catches people out: at 1,100 stitches a minute the foot pedal has a much narrower usable range, and a first straight seam can get away from you.
What it does keep from the beginner playbook is worth noting, because Singer's cheaper M1500 does not have it: a one-step buttonhole, a built-in needle threader and a top drop-in bobbin. If you are choosing between the two Singers on this site and you can afford the difference, this is the better machine to learn on as well as the stronger one.
We have not sewn on this machine. Every figure above is published by Singer, including the warranty, which its product page lists as 90 day / 2 yr / 24 yr.
What works
- Metal interior frame and a stainless steel bed plate — the fabric glides and the machine does not flex
- Adjustable presser foot pressure, which is the control that actually makes heavy fabric feed
- One-step buttonhole and a built-in needle threader, both of which the M1500 lacks
- Top drop-in bobbin rather than Singer's front-loading case
- Drop feed for free-motion work, and three variable needle positions
What does not
- 14.6 lb — by far the heaviest machine here, and it is meant to stay put
- 1,100 stitches per minute is a lot of speed to hand a beginner; the pedal gets sensitive
- 23 stitches for a list price above the 70-stitch CS7000X
- It is bought for what it sews through, not for how easy it is to learn on
The kit it pairs with: Denim needles in 90/14 and 100/16, and heavier all-purpose thread. A universal needle will deflect and skip in eight layers of denim.
The needle you should already own two packs of
Universal machine needles, 80/12 and 90/14
A slight ball point that sews both knit and woven fabric, which is why it is the only needle a first project actually requires — and the one most people never replace often enough.
SCHMETZ describes the universal needle in seven words: 'General sewing of knit and woven fabrics. Slight ball point.' That slight ball point is the whole design. A perfectly sharp point pierces the yarns of a woven cloth cleanly and cuts through the loops of a knit, causing runs. A full ball point pushes knit loops aside but struggles to pierce a dense woven. The universal splits the difference, badly enough that a specialist needle beats it on any one fabric, and well enough that it is the only needle a first project needs.
Buy sizes 80/12 and 90/14, and understand what the two numbers mean: they are the same measurement in two systems, metric (NM) and imperial (Singer). An 80/12 is 0.8 mm across the blade. Lighter fabric wants a smaller number; heavier fabric wants a bigger one. Quilting cotton and shirting sew happily on an 80/12. Denim-weight woven, canvas and multiple layers want a 90/14.
The mistake almost every beginner makes is not buying the wrong needle, it is keeping the right one too long. A needle blunts from the friction of passing through fabric thousands of times, and a blunt needle is a leading cause of skipped stitches, snagged fabric and thread that keeps breaking — the exact symptoms people diagnose as a broken machine. Change it when you start a significant project, and change it after roughly eight hours of sewing.
SCHMETZ publishes universal needles from 60/8 up to 120/19, plus assorted packs, twin needles and triple needles. An assorted pack is the right first purchase because it lets you find out which size your fabric actually likes without buying five packs.
What works
- Sews knit and woven fabric acceptably, which no other needle type does
- The widest size range SCHMETZ publishes for any home needle — 60/8 through 120/19
- An assorted pack covers a beginner's first year of fabrics for the price of a coffee
- Sold as a twin and a triple needle for hems and decorative topstitching
What does not
- A compromise by design — for a stretchy knit a jersey needle skips fewer stitches, and for heavy denim a denim needle deflects less
- Blunts long before it looks blunt; a needle that has sewn eight hours is due for replacement
- Twin needles are not compatible with every stitch on every machine — check your manual first
Jeans are a different job
Two things make denim hems hard, and both have specific answers.
The needle
Use a denim needle in 100/16, not a universal. SCHMETZ specifies the denim needle with a 'medium ball point and reinforced blade' for 'penetrating extra thick woven fabrics, denims, or quilts with minimum needle deflection, reduced risk of needle breakage and skipped stitches'.
That reinforced blade is the point. A universal needle blade is thin enough to flex, and in six layers of denim it bends a fraction sideways — enough to miss the bobbin hook, which is a skipped stitch, or to hit the needle plate, which snaps it. Deflection is why people break needles on jeans, not lack of sharpness.
The side seams
A jeans leg has two flat-felled side seams, and where the hem crosses them you go from four layers to eight in the space of a stitch. The feed dogs cannot climb that step, so the presser foot tips up at the front, the fabric stops feeding, and the machine stitches on the spot.
Two fixes. First, a hump jumper — a small plastic wedge, sometimes called a button-hole leveling tool, that you slip under the back of the presser foot so the foot sits level as it climbs. Some machines ship with one. Second, if you have it, increase presser foot pressure: Singer lists this as an adjustable feature on the Heavy Duty 4423, and Brother lists it as 'No' on the CS7000X, XM2701 and LX3817.
Go slowly over the seam and, if the machine stalls, turn the handwheel by hand for those few stitches rather than forcing the pedal.
Keeping the original jeans hem
This is worth knowing, because the factory hem on jeans is stitched with heavy gold topstitching thread and a chain stitch that a domestic machine cannot reproduce, and it is what makes a shortened pair look shortened.
- Decide the finished length and work out how much you need to remove — call it X.
- Turn the jeans inside out. Fold the leg up so the fold sits at half of X above the original hem stitching, with the original hem still attached at the bottom.
- Sew a line just above the original hem's top stitching, all the way round, through both layers.
- Trim the excess inside to about a quarter inch, and press the tuck upward toward the knee.
- Turn right side out. The original hem is now at the new length, with a small tuck hidden above it.
It only works for shortening by a modest amount — the tuck has to sit under the hem to be invisible. For a large adjustment, hem conventionally and accept a plain hem.
If your machine cannot do it at all
If the machine stalls at every side seam even with a denim needle and a hump jumper, the honest answer is that it lacks the presser foot pressure to feed that bulk. That is a machine specification, not a technique problem, and the denim roundup ranks the machines that have it. If hemming and altering finished garments is most of what you do, sewing machines for alterations ranks the same field on the free arm, the blind hem and thick-seam feeding instead. The SINGER Heavy Duty 4423 is the machine we cover that is specified for it — metal internal frame, stainless steel bed plate and adjustable presser foot pressure.
Answers
Questions people ask
What needle do I use to hem jeans?
How do I sew over the thick side seam on jeans?
How do I keep the original hem on jeans?
How much should I turn up for a trouser hem?
Where this came from
Sources
- SCHMETZ — Sewing Machine Needle Primer, denim/jeans needle description (checked 1 September 2026)
- SINGER — Heavy Duty 4423 specifications, adjustable presser foot pressure (checked 1 September 2026)
- SINGER — M1500 specifications, free arm via removable storage compartment (checked 1 September 2026)
- Brother USA — CS7000X specifications, blind stitch foot and presser foot pressure (checked 1 September 2026)
About the author
Scooter M.
An enthusiast who is genuinely into this. I read the manuals, compile the published specs, and do the arithmetic. No lab coat, no test bench, and no machines I am pretending to have used — which is exactly why every claim here carries a source.
Published by Slate Mill Group. Published September 1, 2026; last updated September 1, 2026. Editorial policy.
Keep reading
Read next
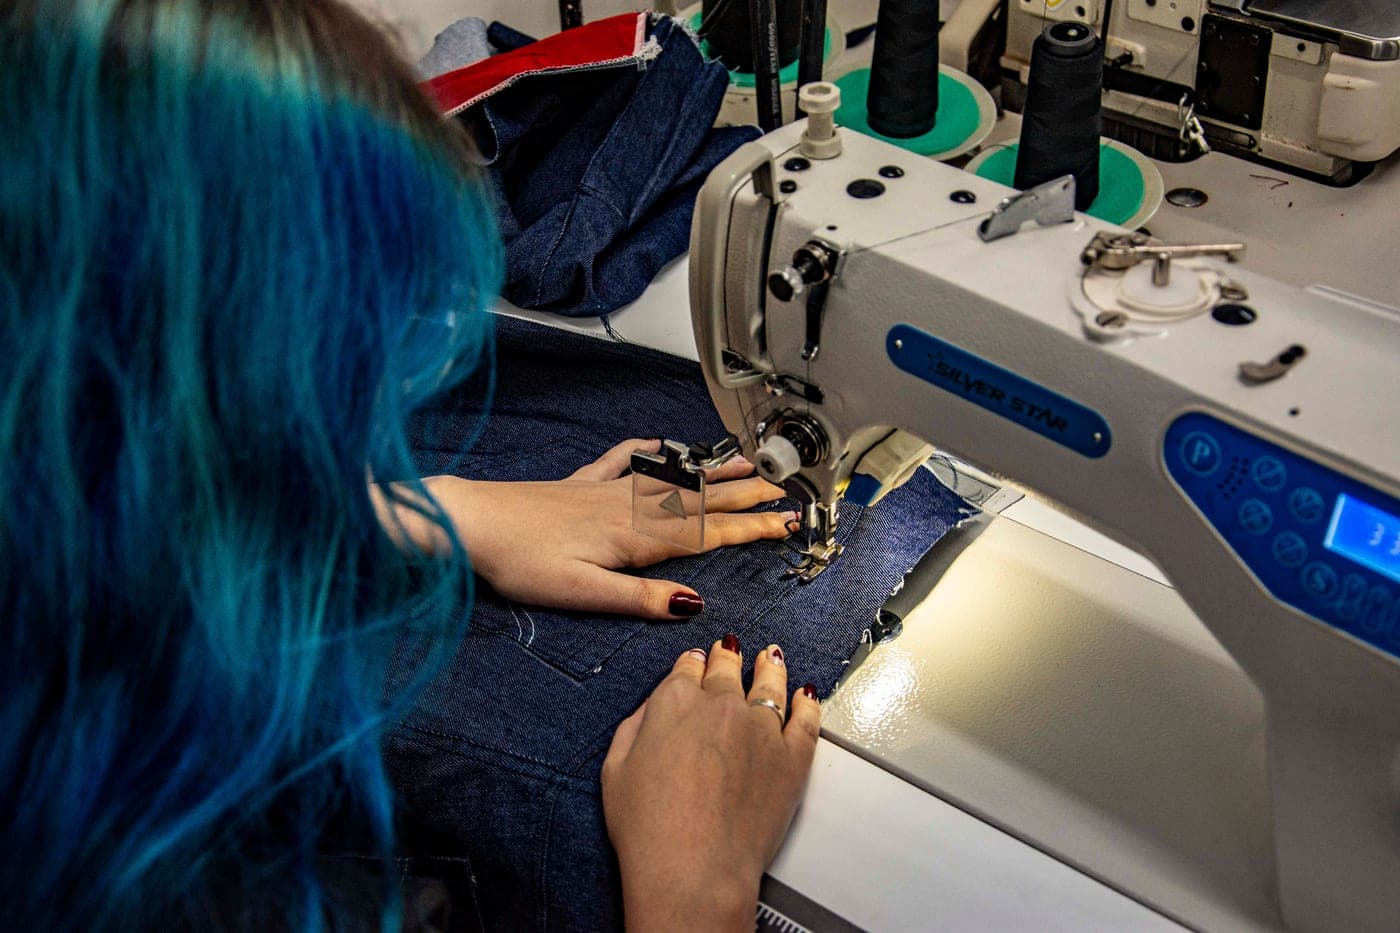
Best for thick fabric
SINGER Heavy Duty 4423 review: a denim machine that happens to sew everything else
Metal frame, 1,100 stitches a minute and adjustable presser foot pressure — the machine for denim, canvas and layers.
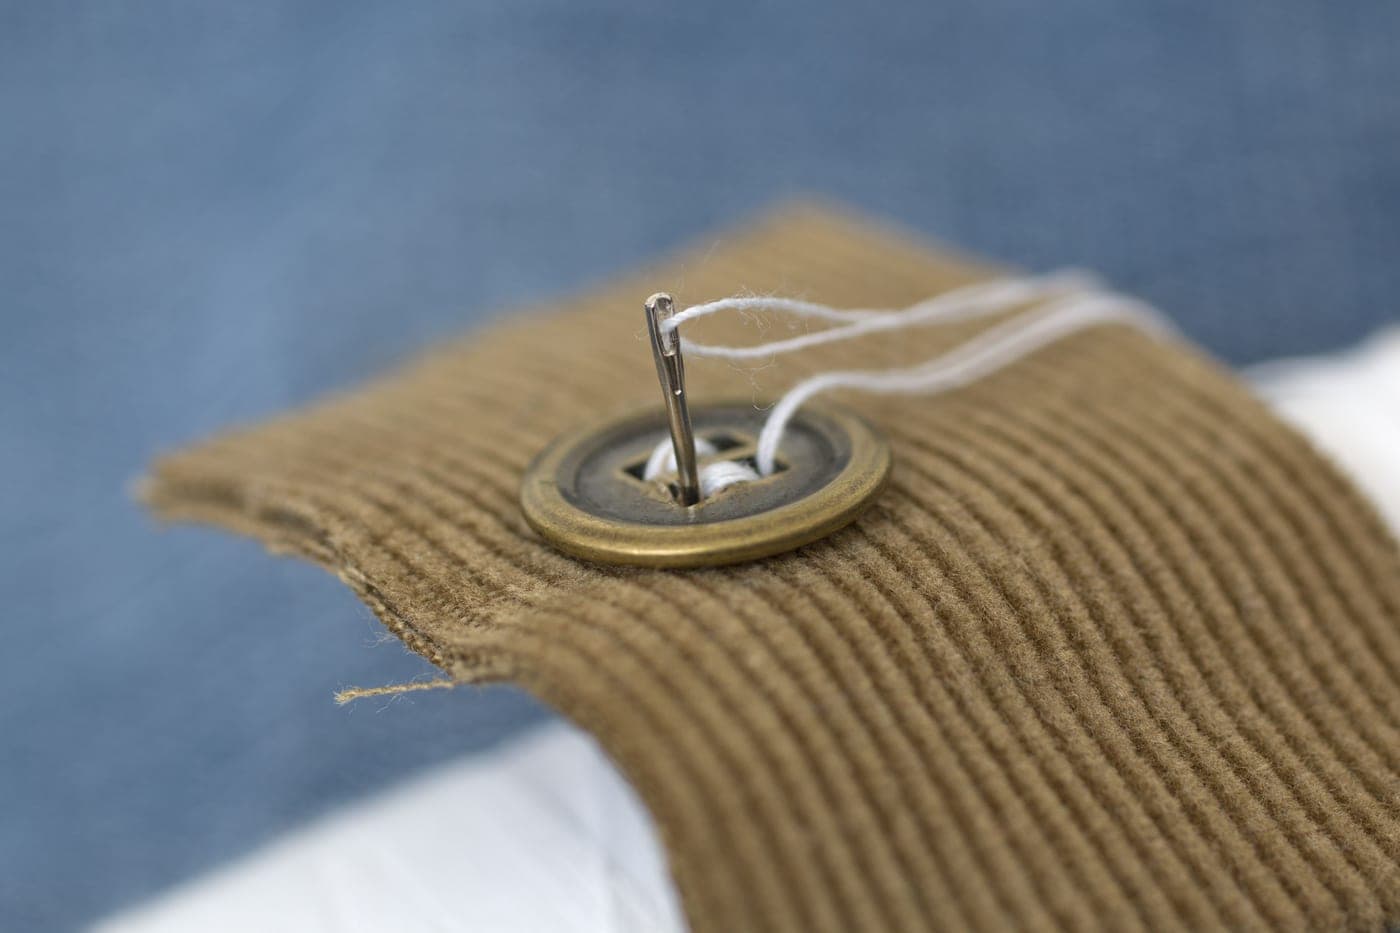
Needles
Sewing machine needles explained
What the two numbers mean, which needle each fabric wants, and the eight-hour rule for changing them.
Best entry tier
The best sewing machines under $200
The entry tier, ranked on what the band structurally buys — and the one machine to think twice about.
Your first seam
How to use a sewing machine for the first time
Setup to finished seam in about an hour, plus the four stitches that cover a first year of sewing.